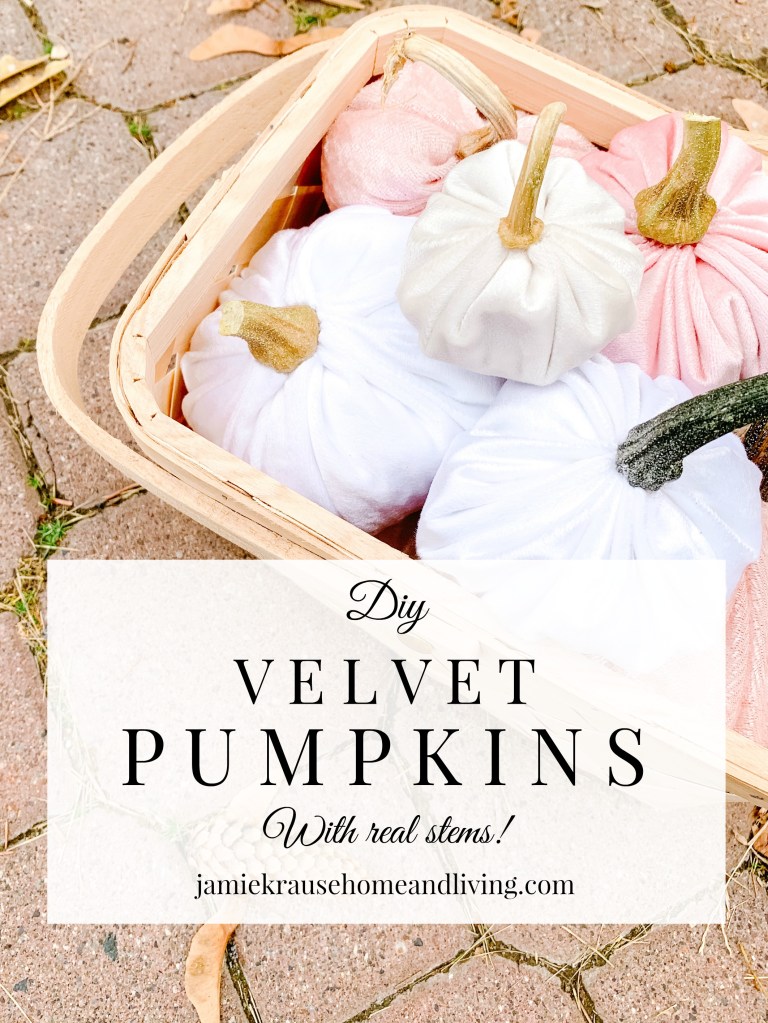
Welcome, friend!
Have you ever seen velvet pumpkins before? I’ve always thought they were so gorgeous, but I’ve never seen them anywhere in the exact style I love – so, what’s a girl to do?
Make her own, of course! And today you’ll learn how to make them, too!

PUMPKIN SUPPLIES:
- Velvet! At least 3 colours, in whatever shades speak to you. A yard each is plenty. I prefer non-stretch ‘upholstery’ velvet, though you can use stretchy if you like. I tried both kinds and found that while the stretchy kind was easier to use, it didn’t look as smooth and shiny as the stiff kind. You can use satin, crushed, or matte – or one of each!
- Fibre fill stuffing (the kind from the craft store you use in pillows or stuffed animals)
- Extra strong thread in colours to match your velvet (or just grab black for dark colours and white for light colours)
- Dried lentils, beans, or rice (I used lentils)
- A thick gel glue (I prefer E-6000, you can find it in any hardware store)
- Real stems! I used pumpkin, acorn squash, and butternut squash stems. Basically save every stem you ever come into contact with from now until the end of time! You can also ask your friends and family to save them for you, or even local farmer’s markets. I wouldn’t suggest buying them online, they’re far too expensive when you can score them for free in so many ways. If you really can’t find stems, you can forage some sticks to use as stems.
CRAFTING TOOLS:
- Scissors (fabric ones AND every day ones)
- Embroidery needles (with a large eye for your extra thick thread)
- Bowls, plates, and platters in varying sizes, round and oval (oval makes the cool ‘squashy’ shaped pumpkins we all love!)
- Funnel
- Colouring pencils (I prefer metallic ones for smoother marking)
- Cotton swabs for any glue clean ups
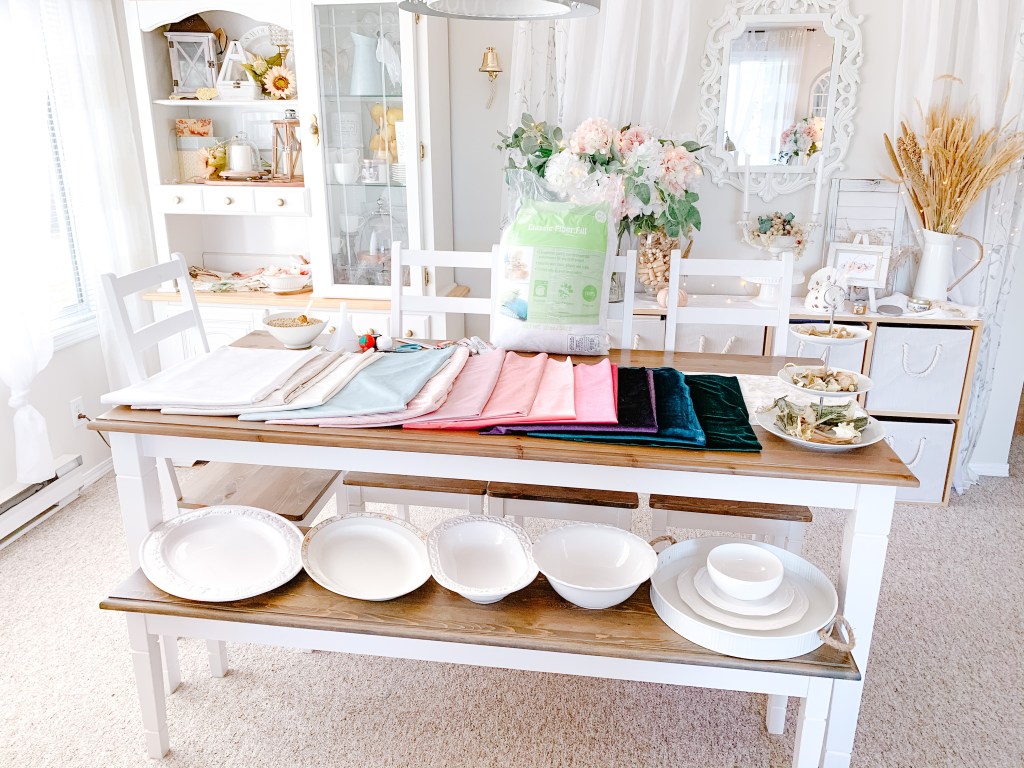
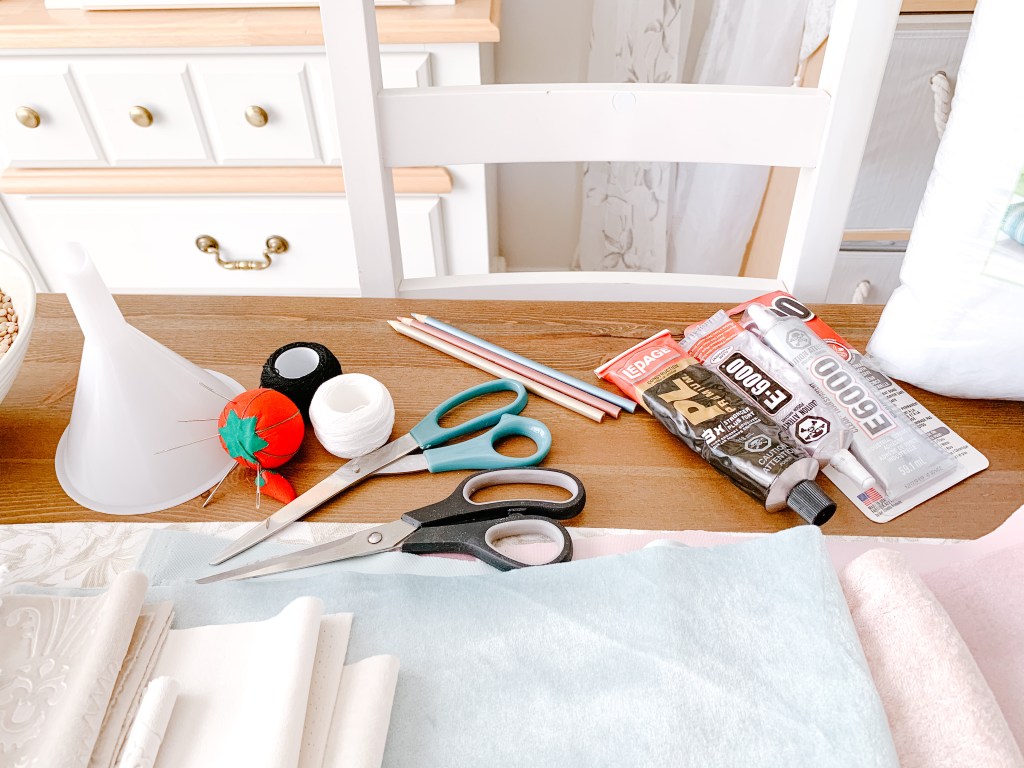
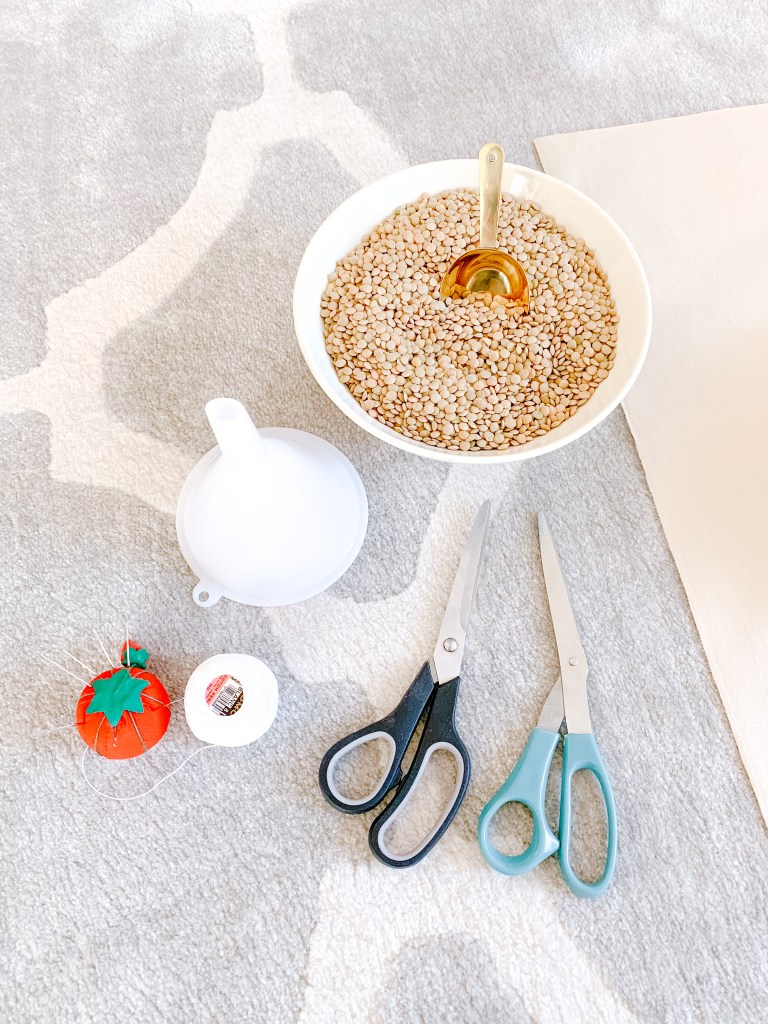
Everything you’ll need for this fun fall craft!
Visit your local fabric store, or shop online for fabrics.
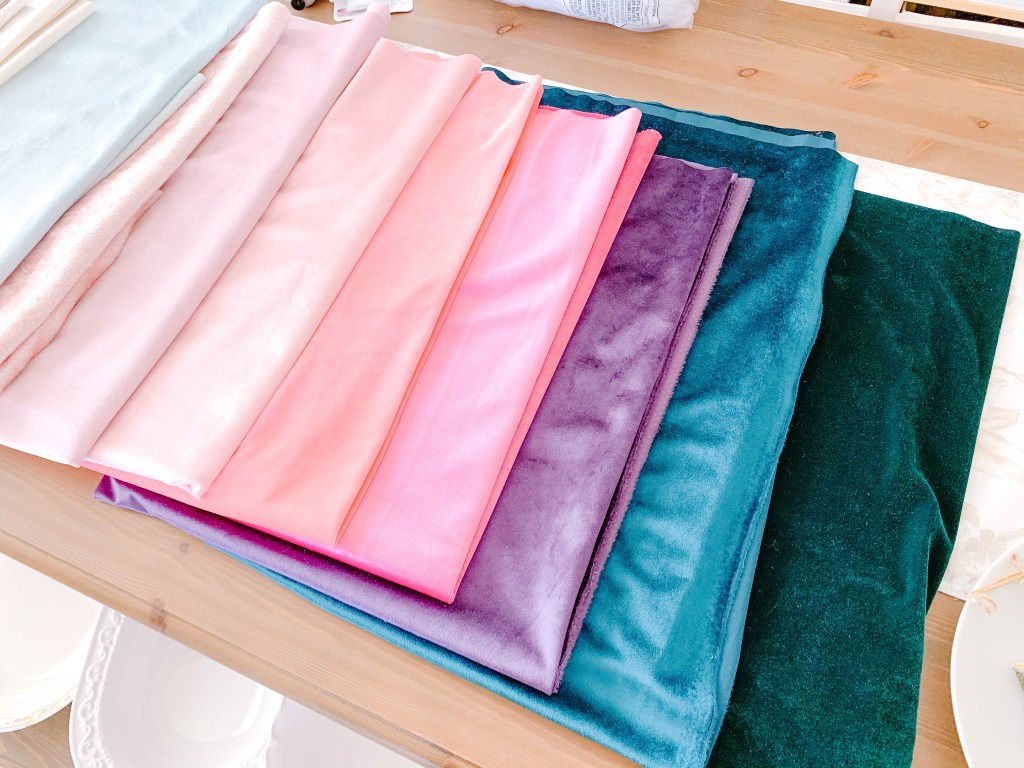
I chose a wide array of fabrics, but you only need a few for your arrangement.
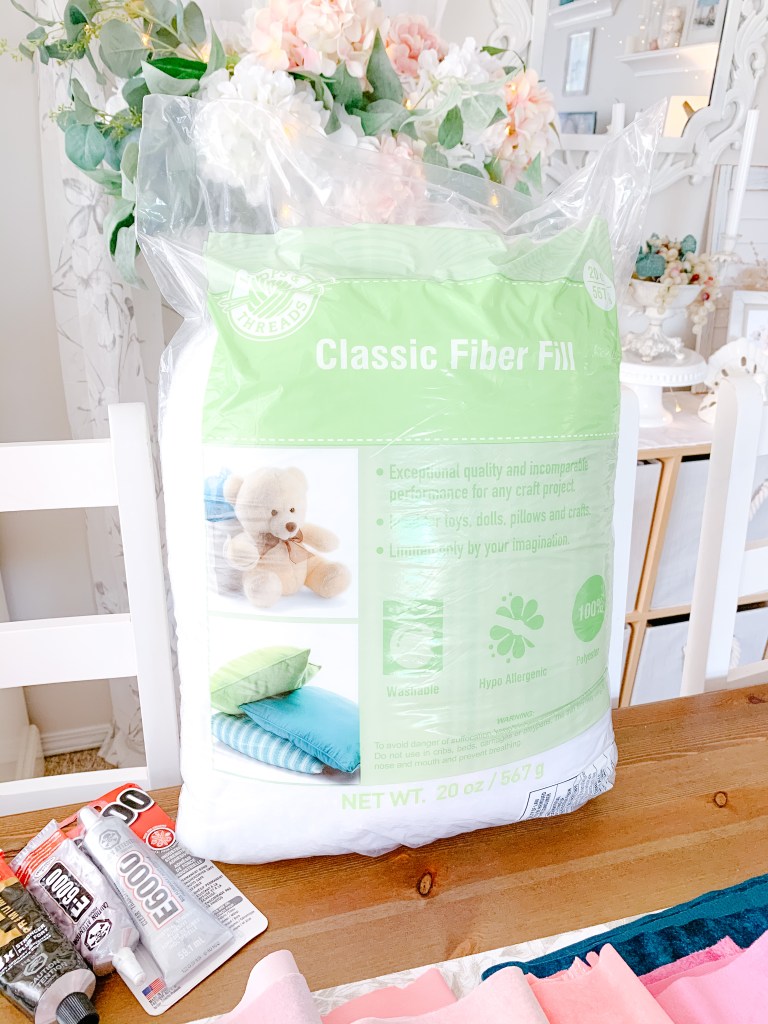
Classic stuffing from the craft store. A huge bag is only about $10, and it goes a long way.
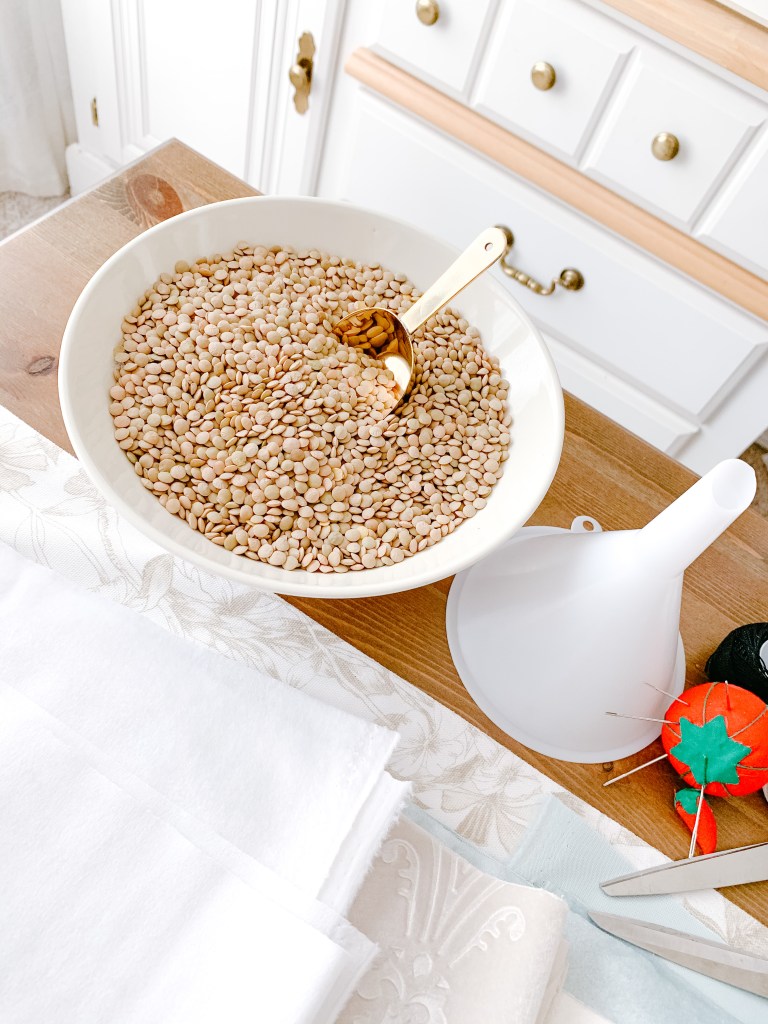
Rice or dried beans work as well, I chose lentils simply because they were the cheapest!
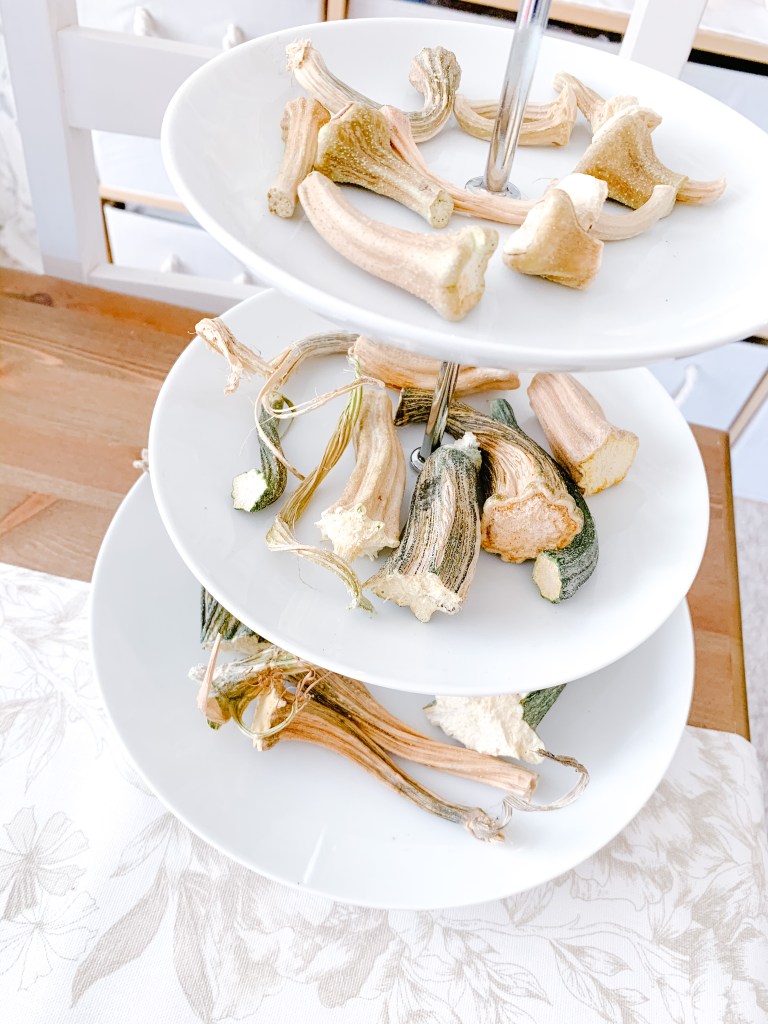
Make sure that your stems are nice and dried out before you use them. I let mine dry for a good week after removal from my pumpkins and squash.
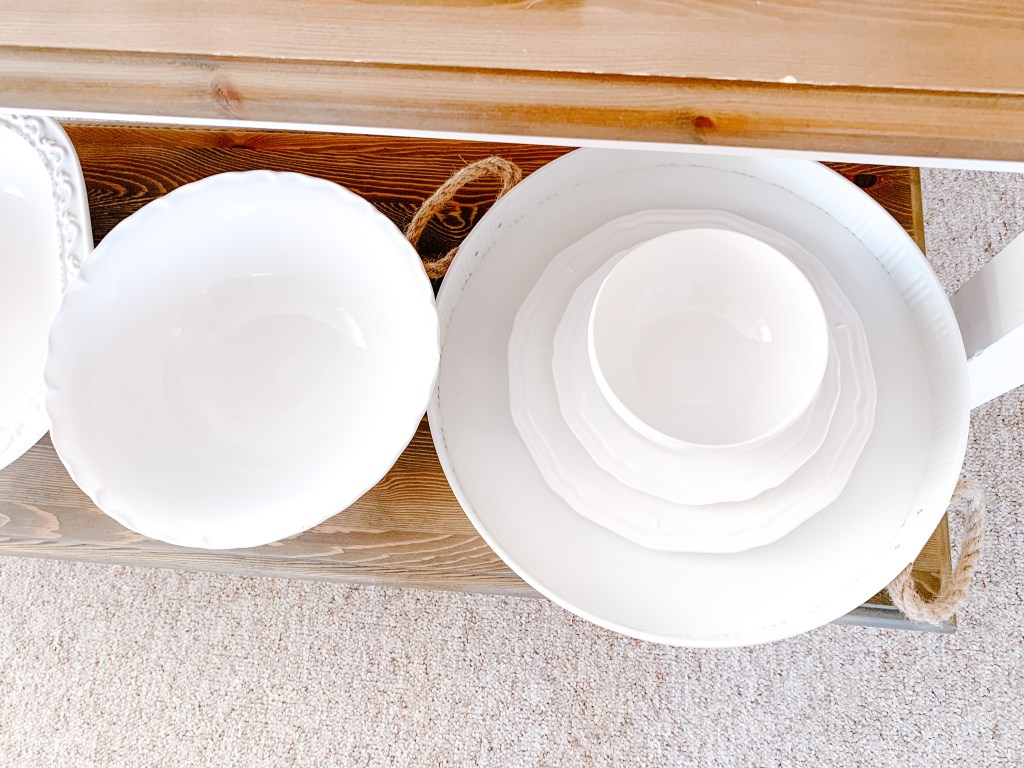
Find the biggest platters/trays you have, along with bowls and plates. As you’ll see later in the tutorial, you’d be surprised at how small the pumpkins turn out even when using a dinner plate!
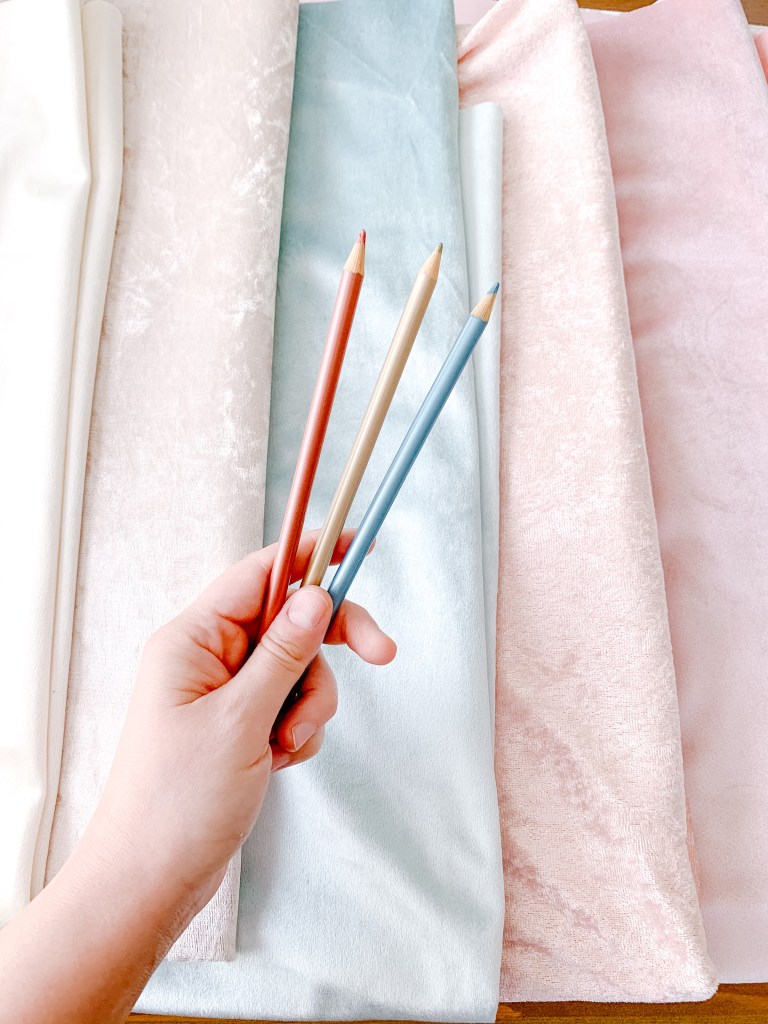
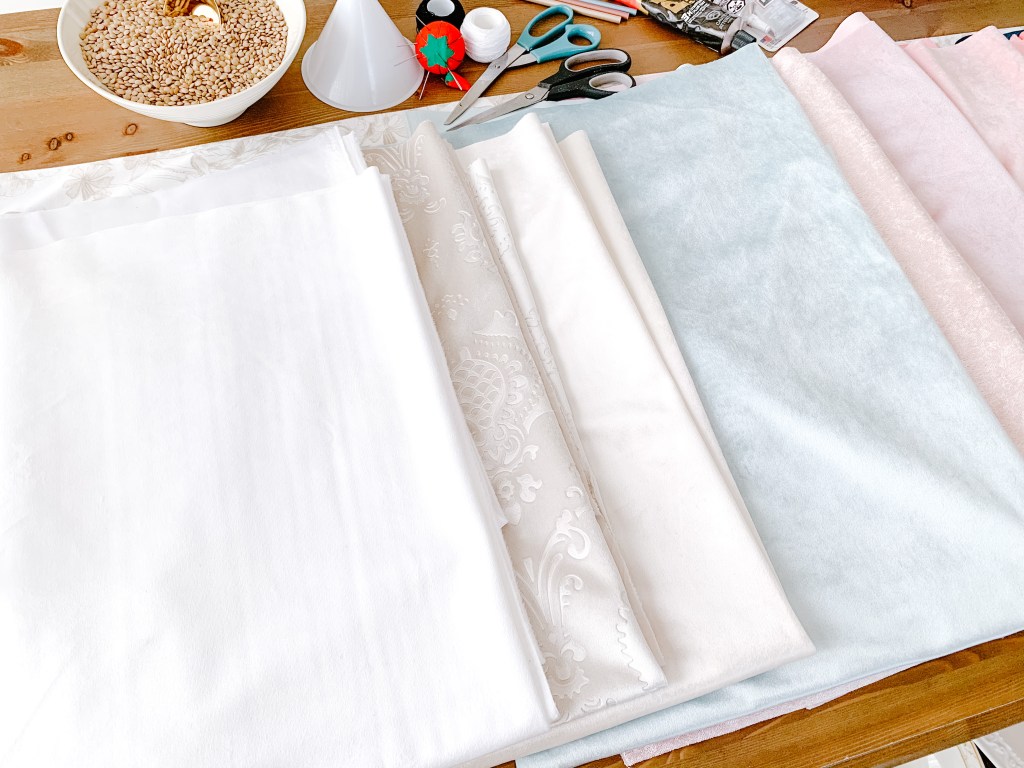
I like to use pencils that match my fabrics, if I can! But you’ll be marking the backside, so it doesn’t matter all too much what colour you use, so long as you can see it against the fabric.
HOW TO:

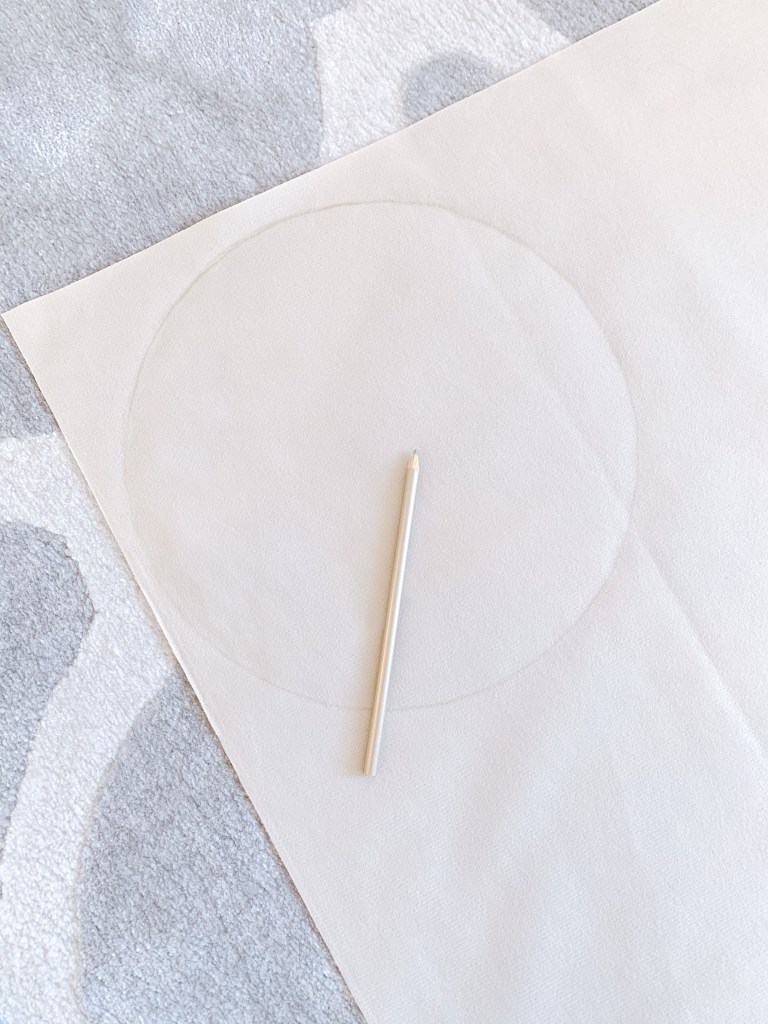
Spread your fabric out, face down, and set your dish over it. Get as close to the edges as possible, so as to not waste any fabric. Outline the dish with your pencil.
Next, cut your circle out using fabric scissors. Always be sure to only use your fabric scissors on fabric, otherwise you can dull them too quickly and they won’t work as well. That’s why you should have a pair of regular scissors on hand for anything else that may need cutting during this project (your bag of rice, or pumpkin stems for example).
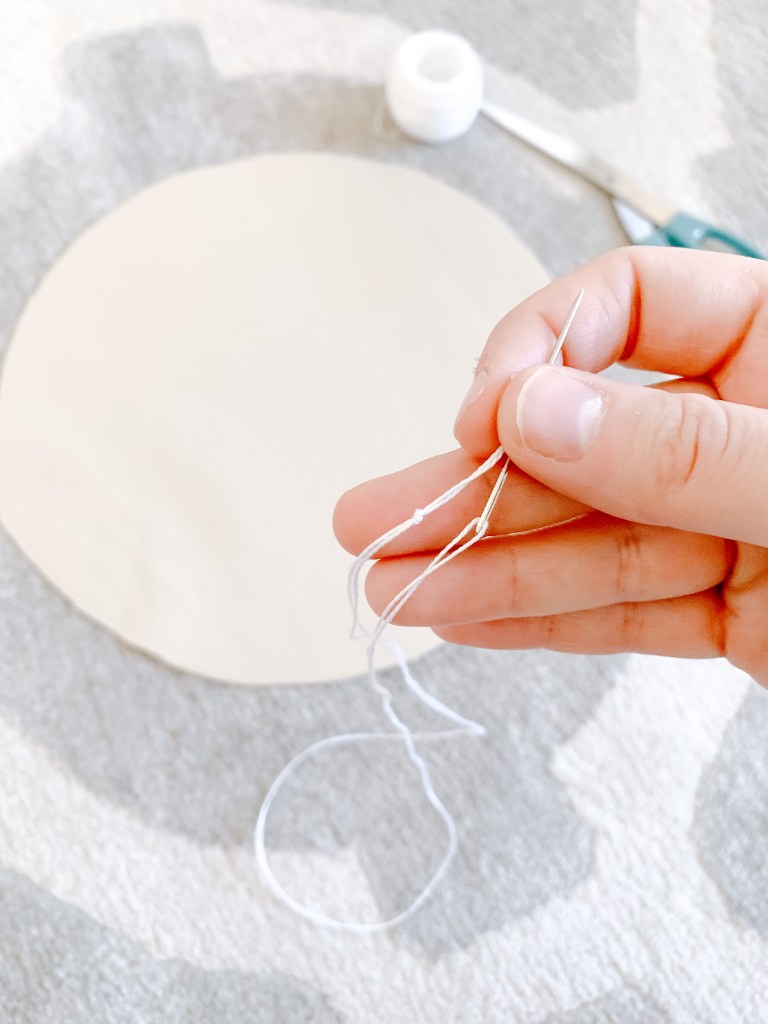
Thread a large, but sharp needle (an embroidery or upholstery one) with your colour of choice. If you don’t have any sewing experience and don’t know how to thread a needle, that’s okay, I’ll explain here – simply pull a long length of thread through the eye, and tie the two ends together, as seen in the photo above. You will be essentially having a ‘double’ thread. If you try to tie a knot at the base of the needle, you won’t be able to pull it through the fabric.
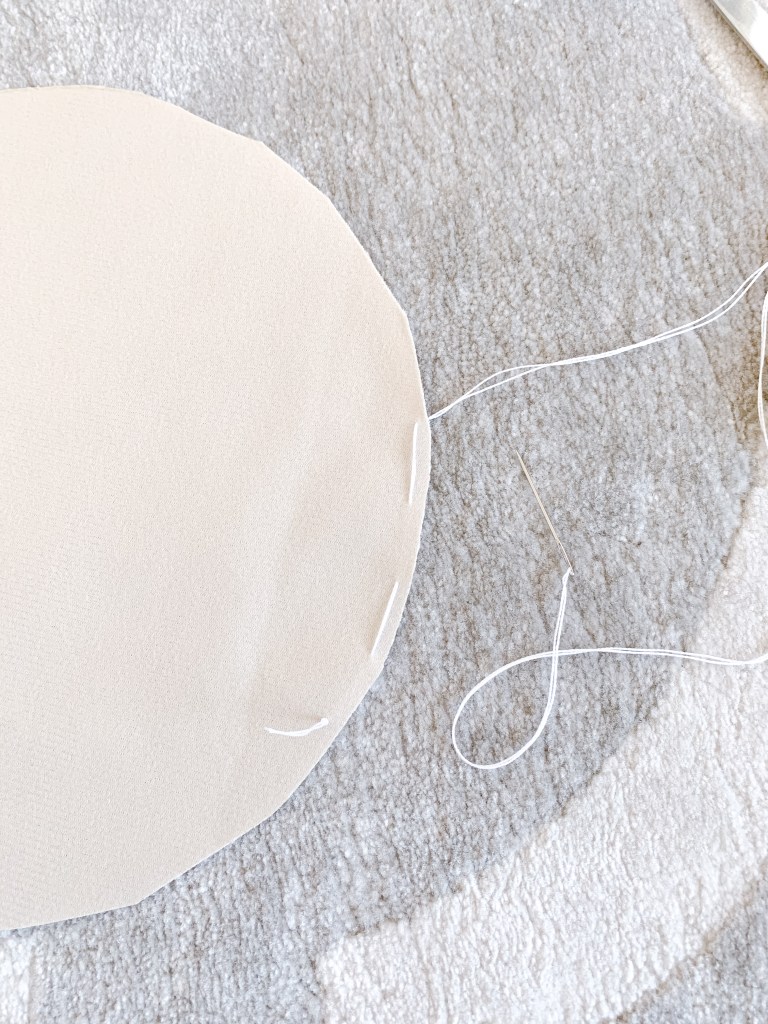
Weave the thread in and out of the fabric all the way around the circle. When making larger pumpkins, the spacing above is fine, but if you’re making a smaller pumpkin (ex. a cereal bowl sized circle), do a tighter weave.
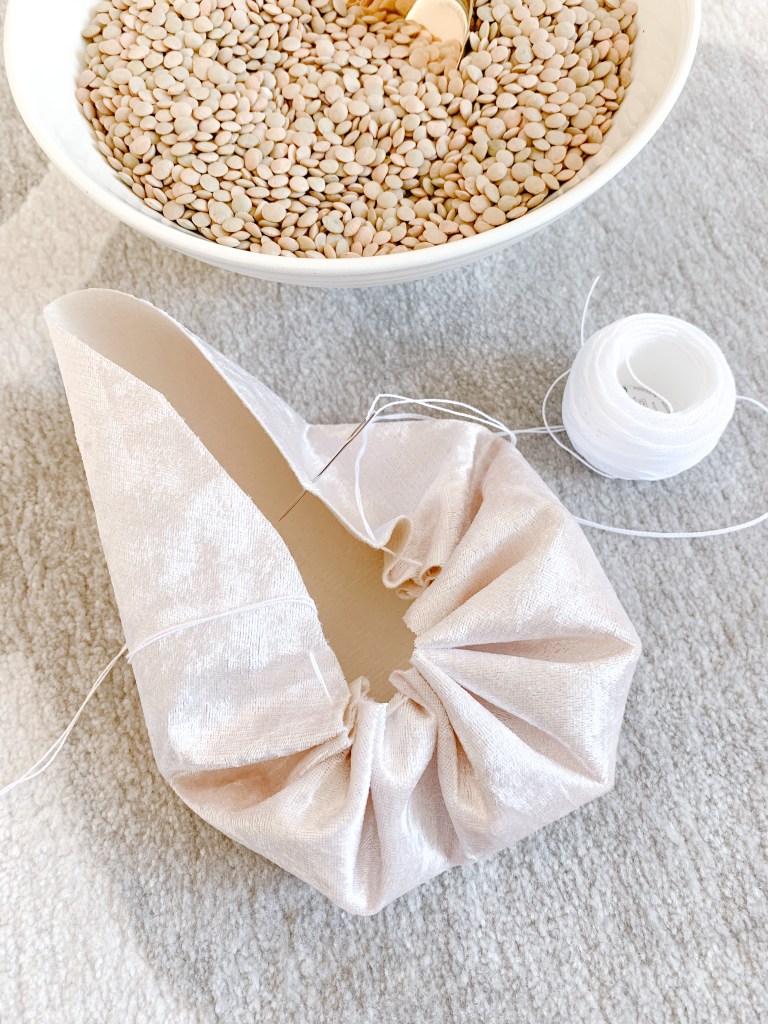
Once you’ve gone all the way around, ‘gather’ the fabric by gently tugging each thread. Make sure both threads are coming through the inside of the pumpkin.
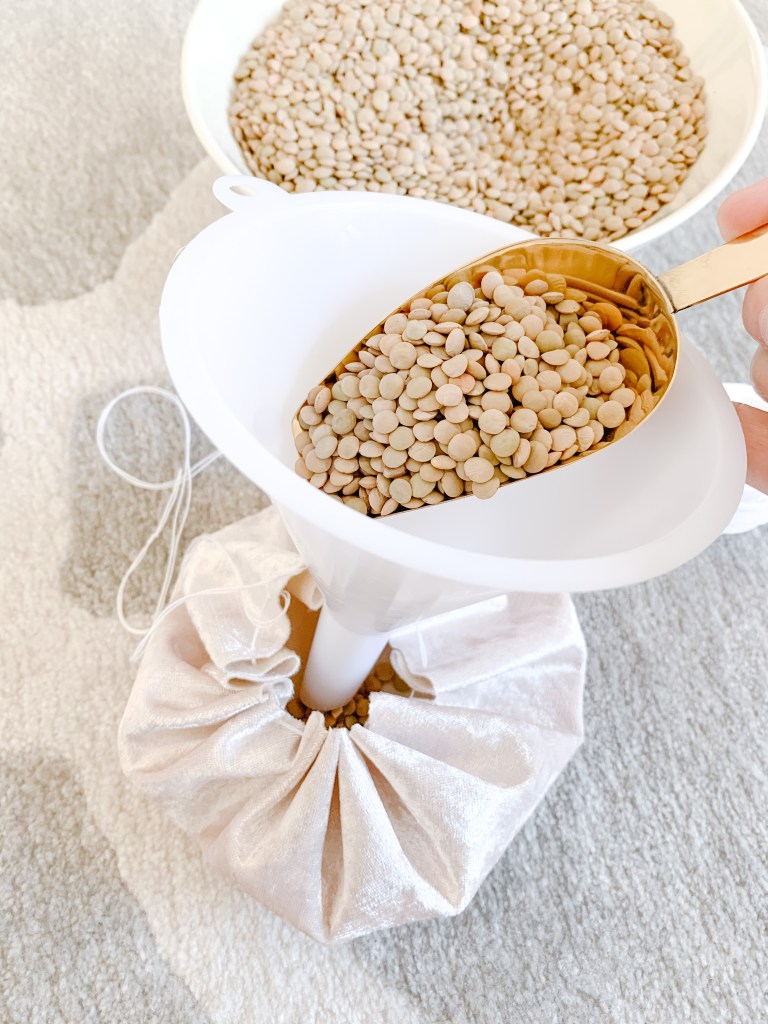
Pour a scoop of lentils into the pumpkin, using a funnel for the smaller ones.
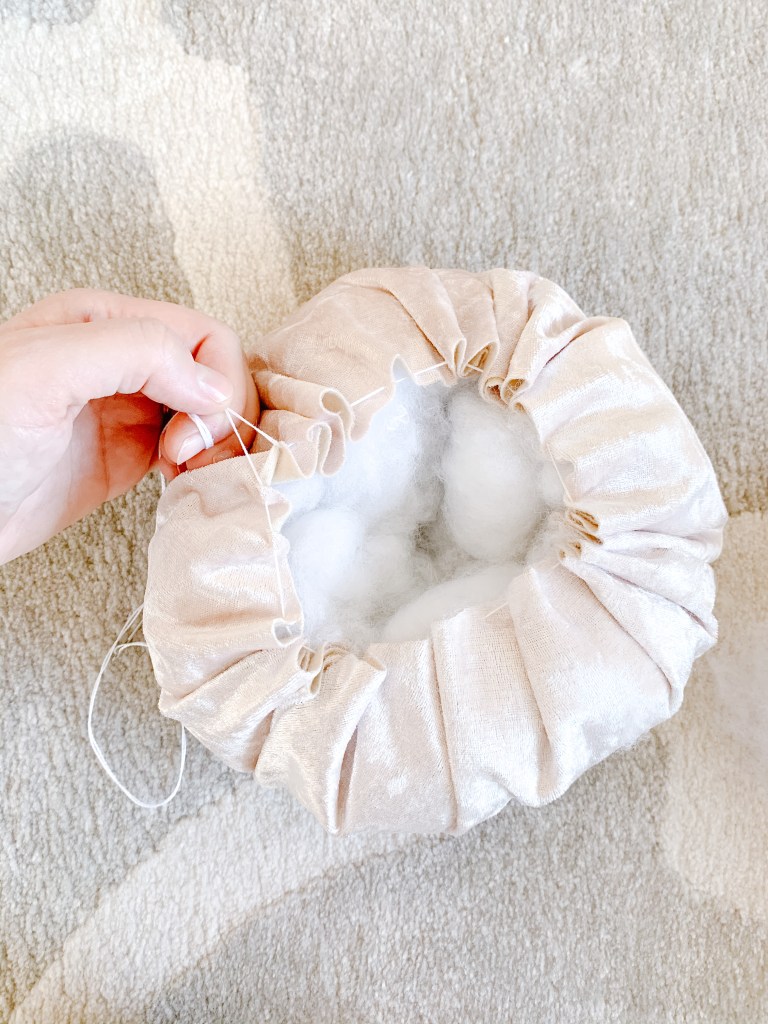
Fill it out with stuffing, formed into balls. Play around with quantity, but I advise to add more than you think you need. The pumpkins should be nice and plump!

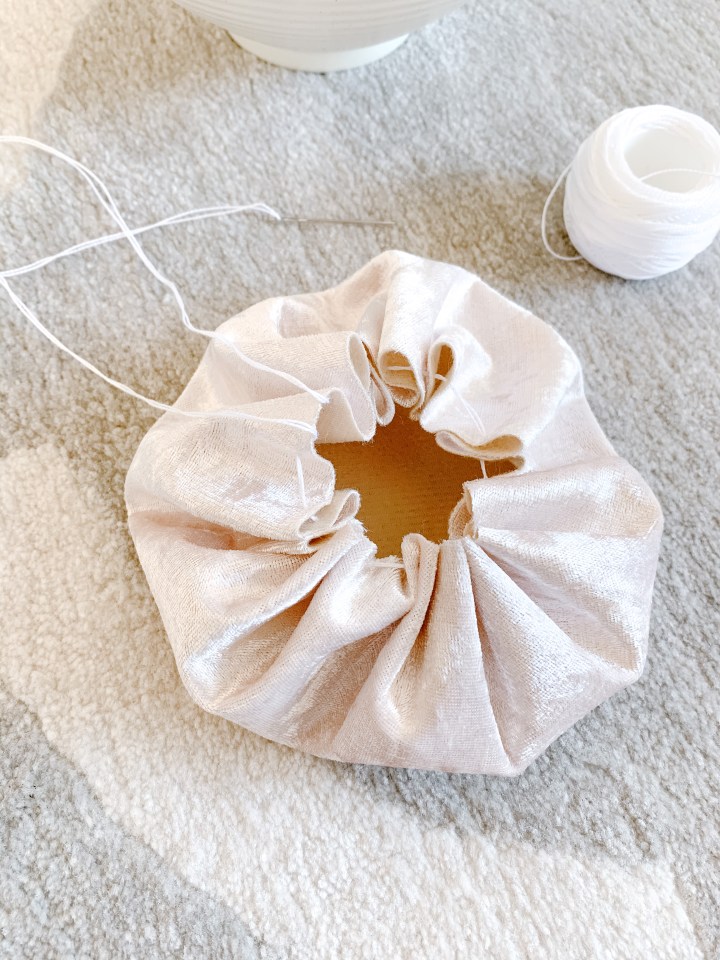
Once your pumpkin is full, gather the thread tightly. Don’t pull too hard or you risk breaking the thread (that’s why you’ll need extra strong thread!), but tie it as tightly as you possibly can. If there’s a tiny opening, that’s okay – your pumpkin stem will cover it.
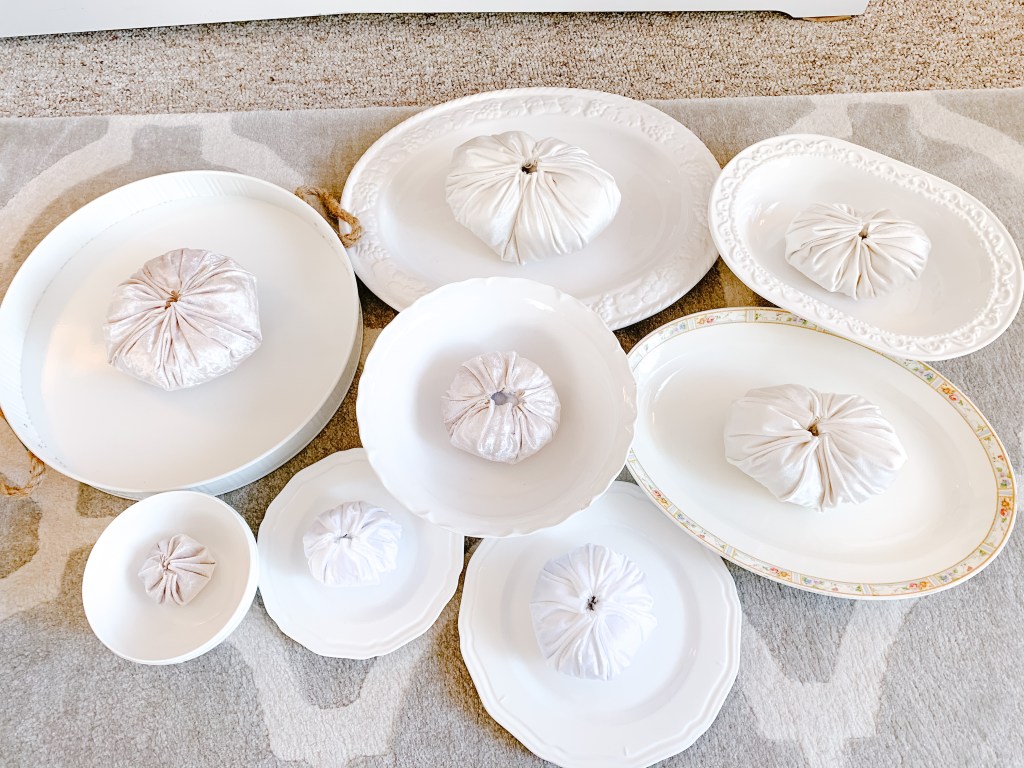
See what I mean about sizing? You can also freehand some extra large pumpkins if you don’t have a platter big enough for extra large pumpkins.
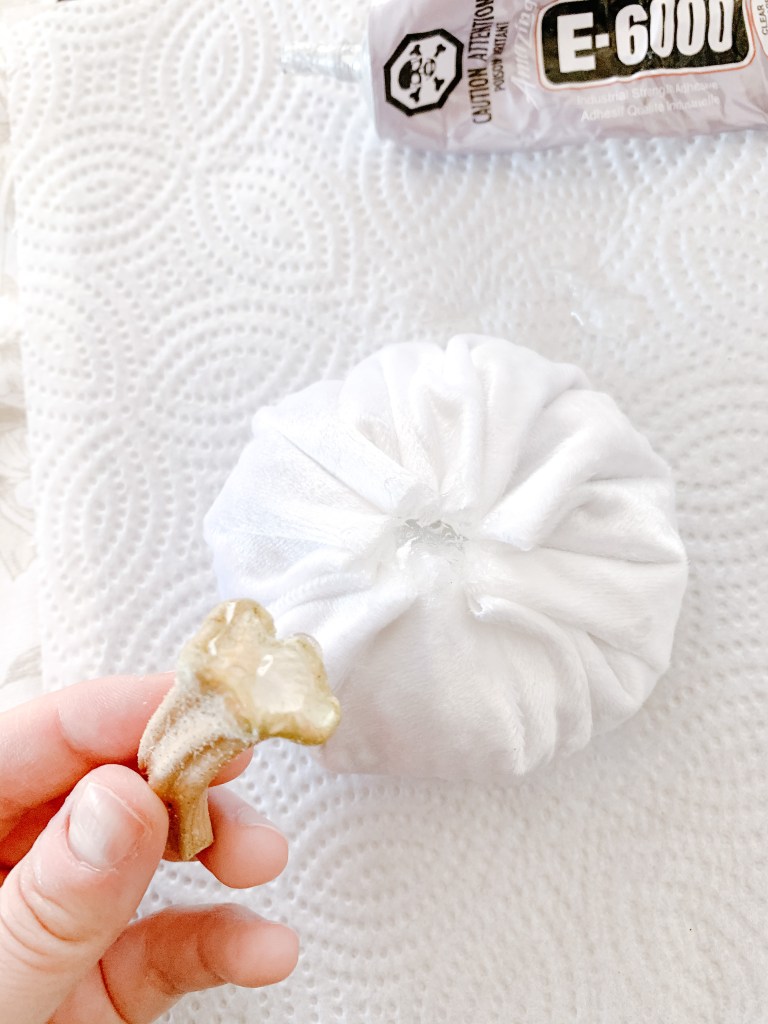
Apply a good dollop of your gel glue to both the stem, and the fabric.

Join them together, and hold until the stem stays put. Use a cotton swab to wipe away any excess glue that may spill over. That’s why I love this glue – it’s extremely strong, but before it dries it is very easy to handle and clean up.
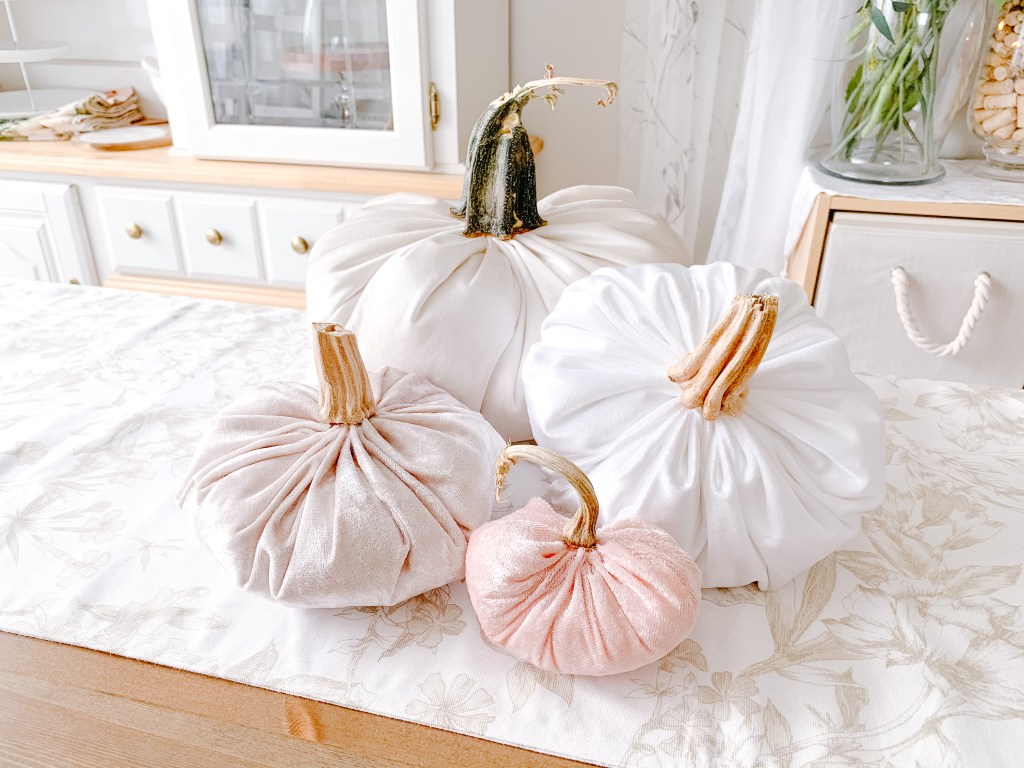
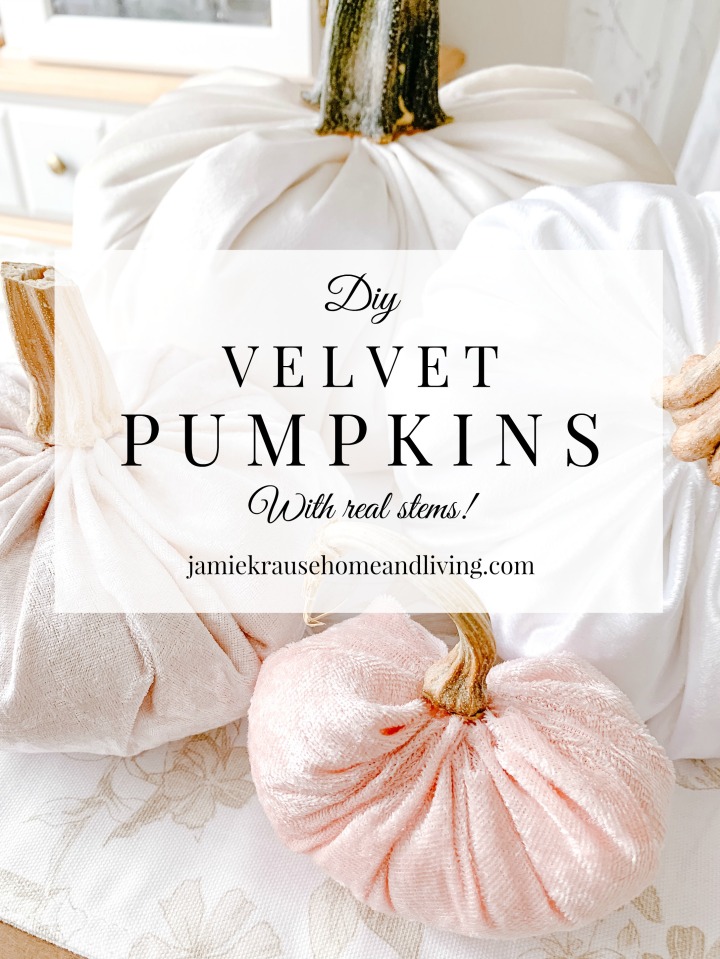
And there you have it! How to make your own velvet pumpkins with real stems, from scratch!
Want velvet pumpkins without the hassle of making them? You’re in luck! There is a velvet pumpkin patch ripe for the picking over on Shop Jamie Krause! Visit my shop to see what’s in stock.
xo, Jamie
Pssst! Subscribe to my blog below – you’ll receive fun perks like free seasonal wallpapers for your phone designed by moi, discount codes to the shop, and more!
Tap the pic below to visit me on Instagram!
Tap the pic below to visit me on Facebook!