Well, hey there! Welcome back to the blog!
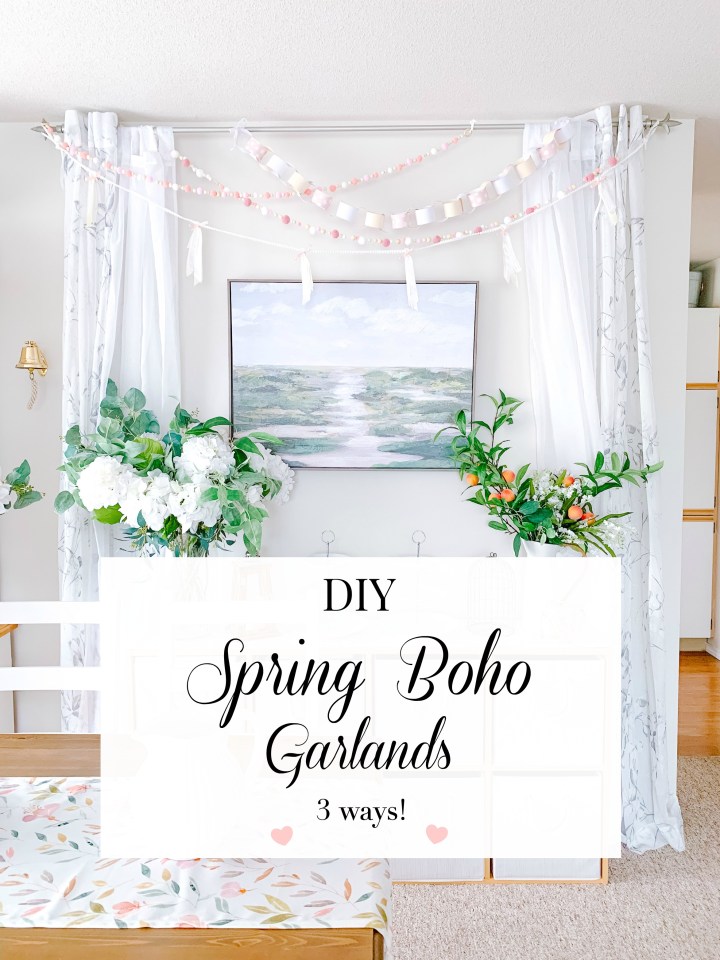
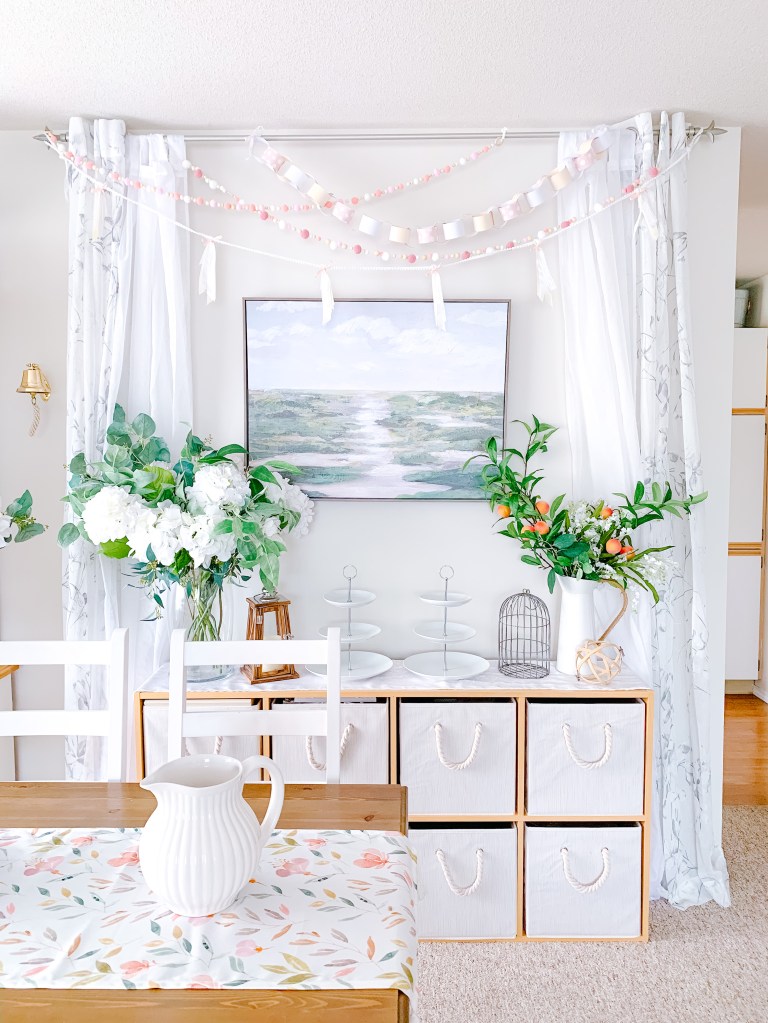
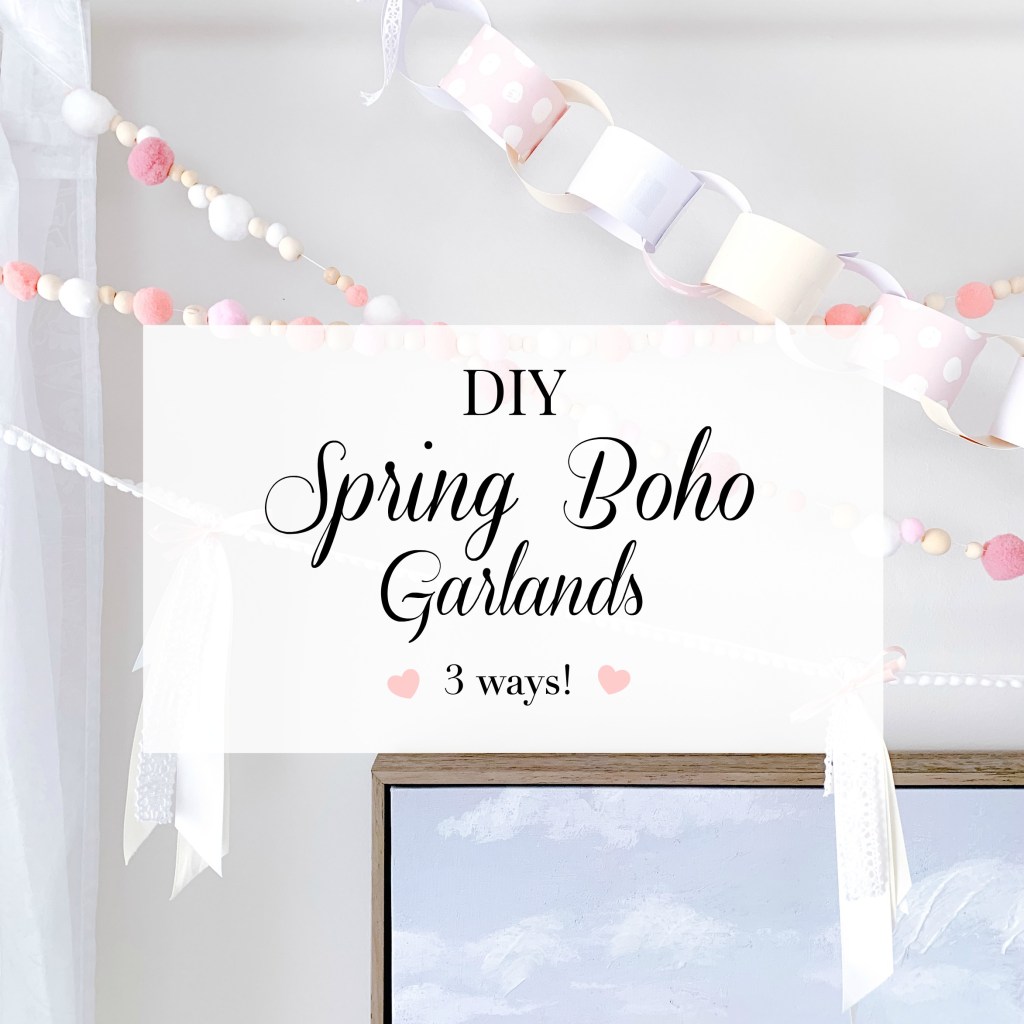
Today I’m going to show you how to make three easy DIY garlands, so you can add a little boho style to your space for spring. The best part? You can probably make these using things you already have at home, so odds are you can make at least one of these without having to step foot outside!
Our 3 styles today:
- a ribbon tassel garland
- a beaded pompom garland
- a paper chain garland
Let’s jump right in and get started with our first one!
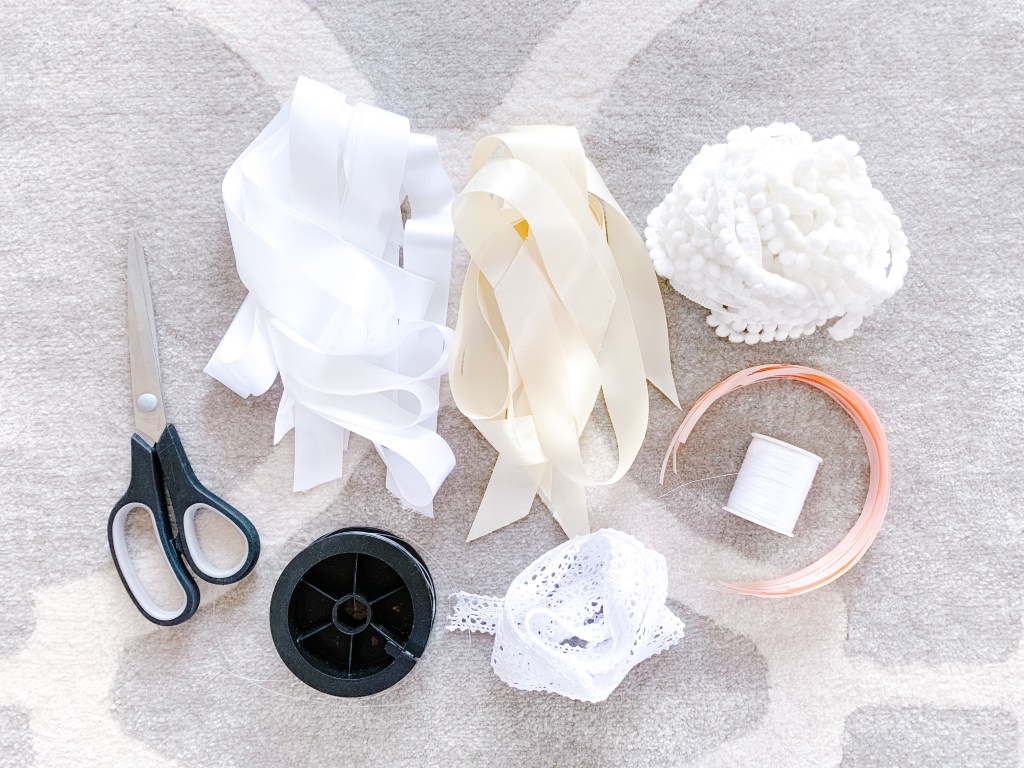
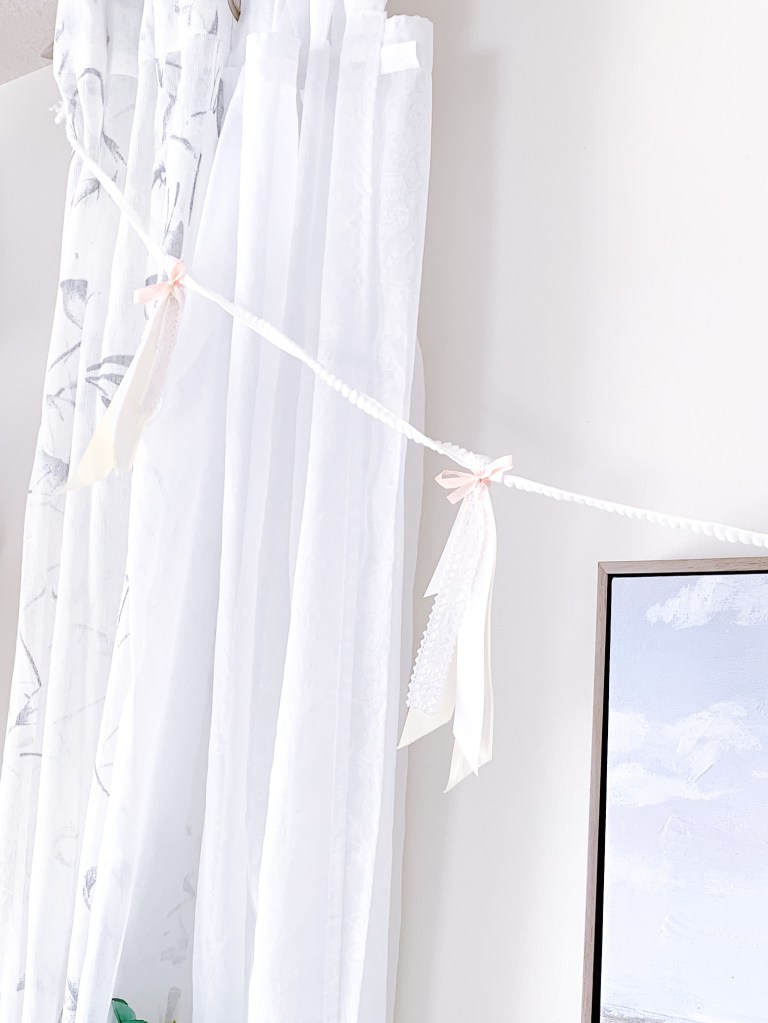
RIBBON TASSEL GARLAND
You will need:
- assorted ribbons in different textures and colours
- fishing line, thread, or cotton string
- scissors
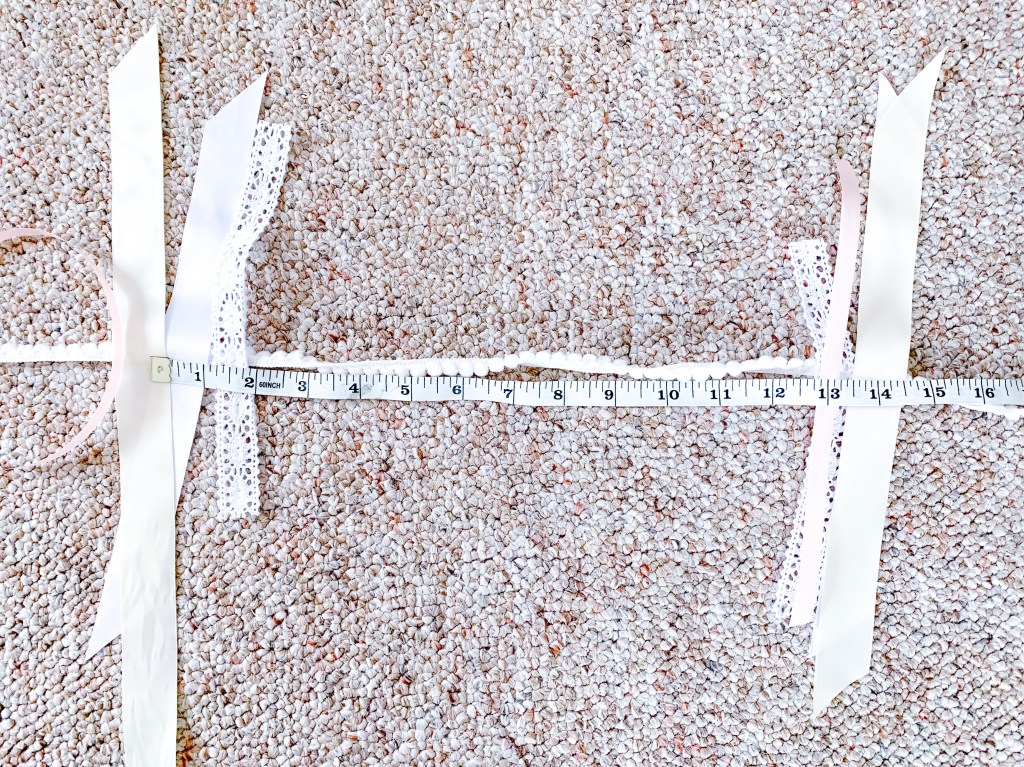
First things first! Measure out a 9 foot piece of string, heavy thread, or fishing line. Tie each end into a loop, so that your garland is now roughly 8 feet. Next, cut groupings of ribbons into 14 inch pieces. I did 6 groups, which means I will have 6 tassels on my garland.

Space the ribbon groupings out down the garland, leaving roughly 12 inches between each.
Next, cut 6 thinner ribbons, about 6 inches long each, to use as the bow that holds your tassel together. Once you’ve got your groupings spaced out where you want them, fold each grouping over the garland strand, and tie a bow tightly around them, as indicated in the next photo.
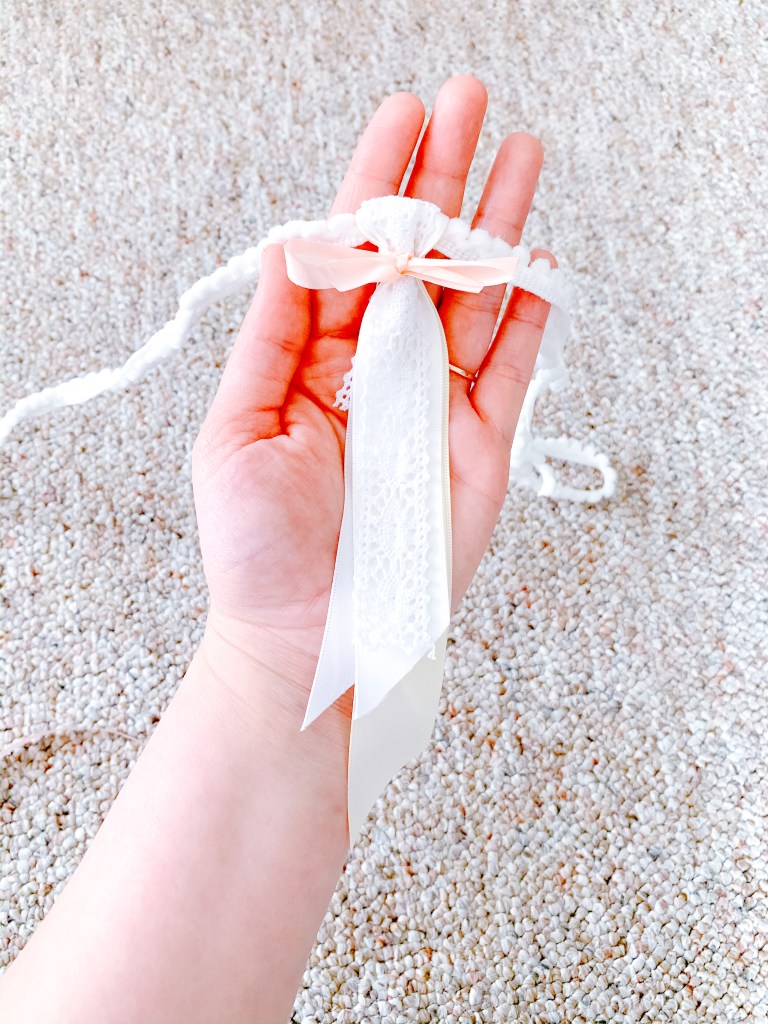
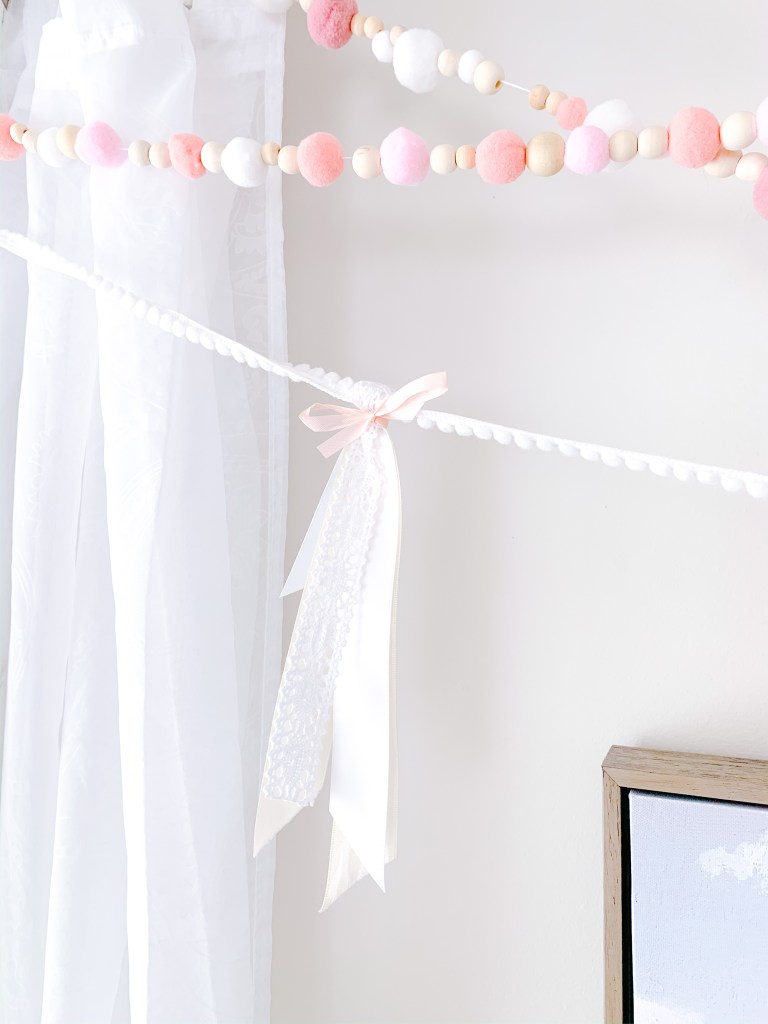
Voila! Little ribbon tassels.
First one’s done! Next up:
BEADED POMPOM GARLAND
You will need:
- assorted pompoms in different sizes and hues
- assorted sizes wooden beads
- thread
- a needle
- scissors

This one is pretty self explanatory! But I will say, it’s much easier to make two 4ft garlands, rather than one 8ft, when working with thread that likes to tangle.

Thread your needle, and start stringing beads! I laid out all of my pompoms and beads into a pattern on the floor before I strung them on, but you can also just pop them on straight from the bowls.
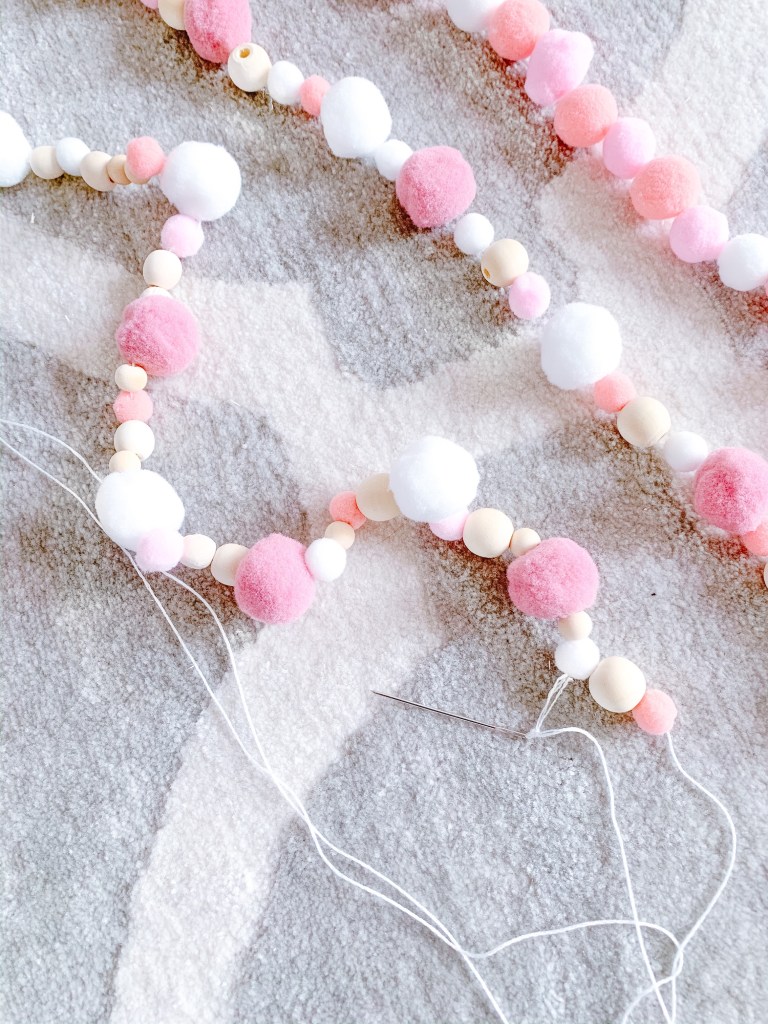
Don’t worry if you don’t have enough pompoms and beads to make a full 8ft – after they’re all strung on, loosen them up with your fingers. A few empty spaces looks fine!
Second garland done! Now for the third, and final garland!
PAPER CHAIN GARLAND
You will need:
- assorted colours card stock paper
- scissors
- scotch tape
- measuring tape
- two 8 inch ribbons.
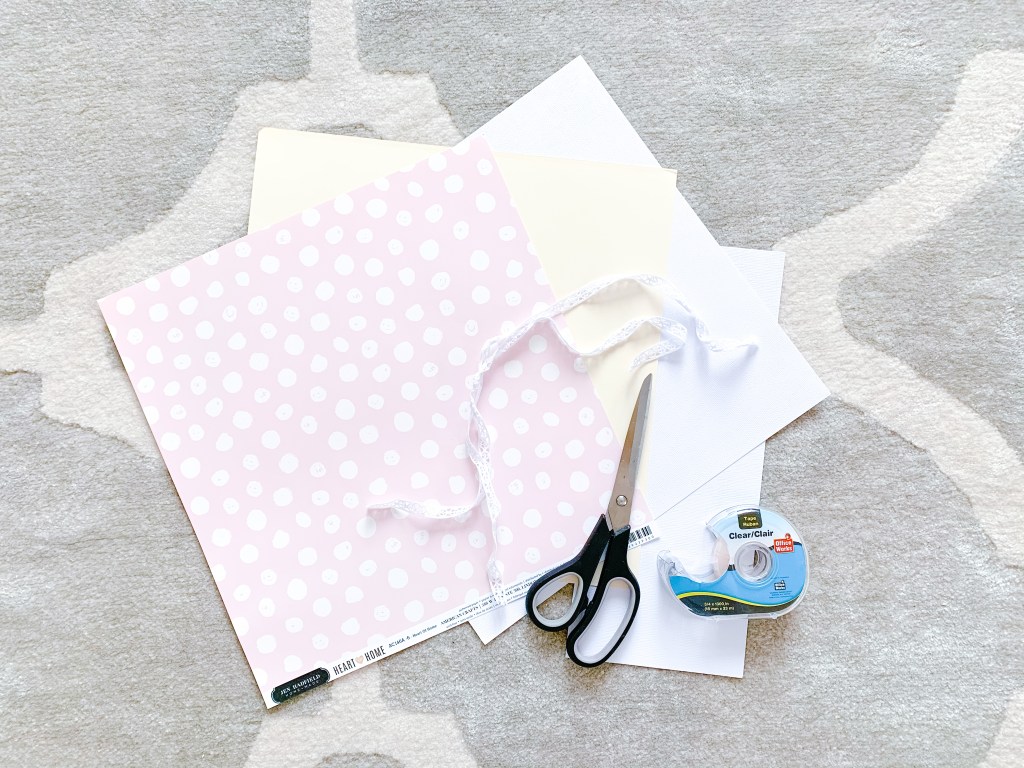
I’ll preface this one by saying cardstock paper isn’t the only thing you can use! You could also use plain old printer paper, and draw a pattern on your strips before you fold them. Even some minimalist flower designs in a black pen on white paper would look beautiful!
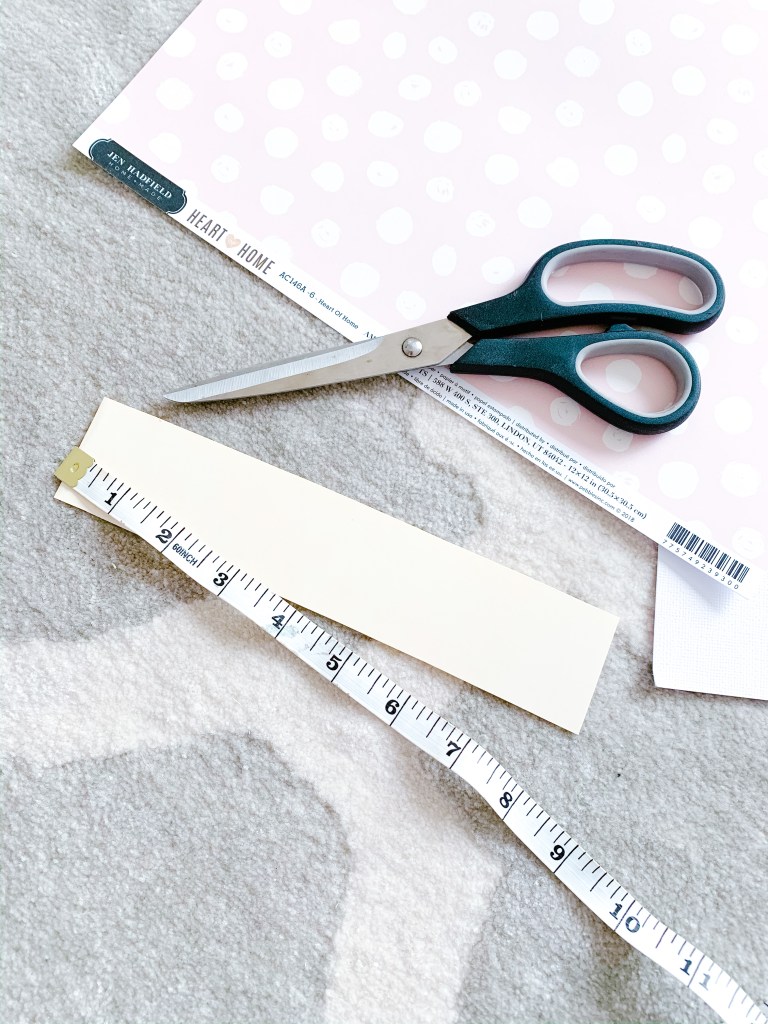
Cut your paper into 8×1.5 inch strips.
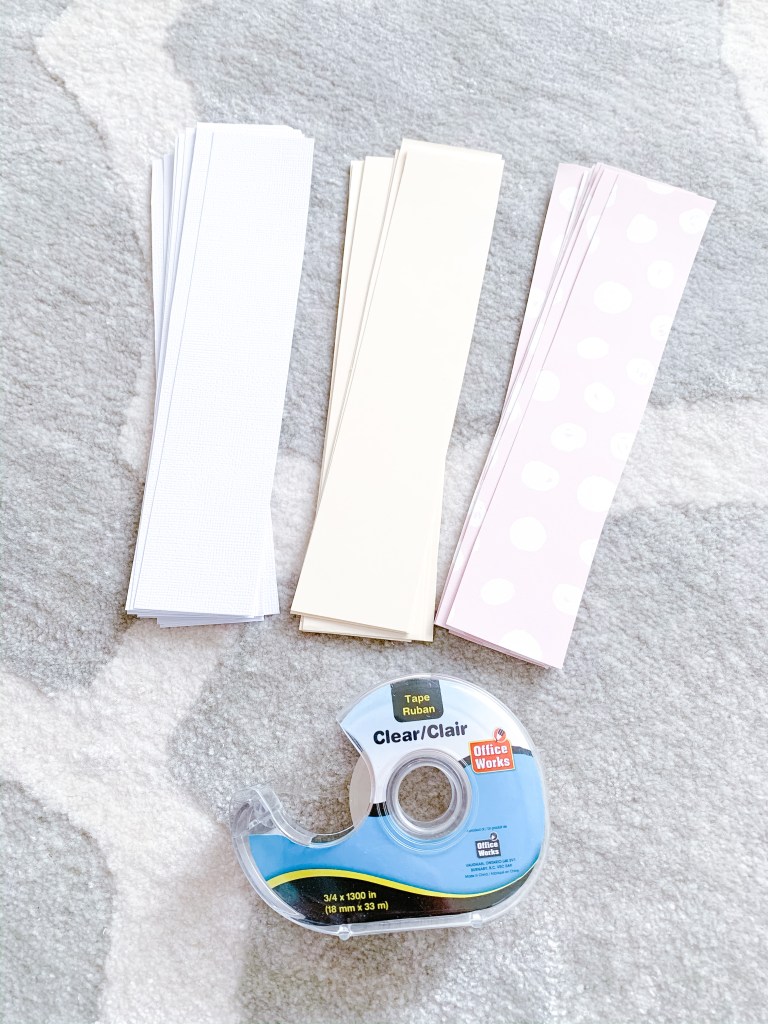
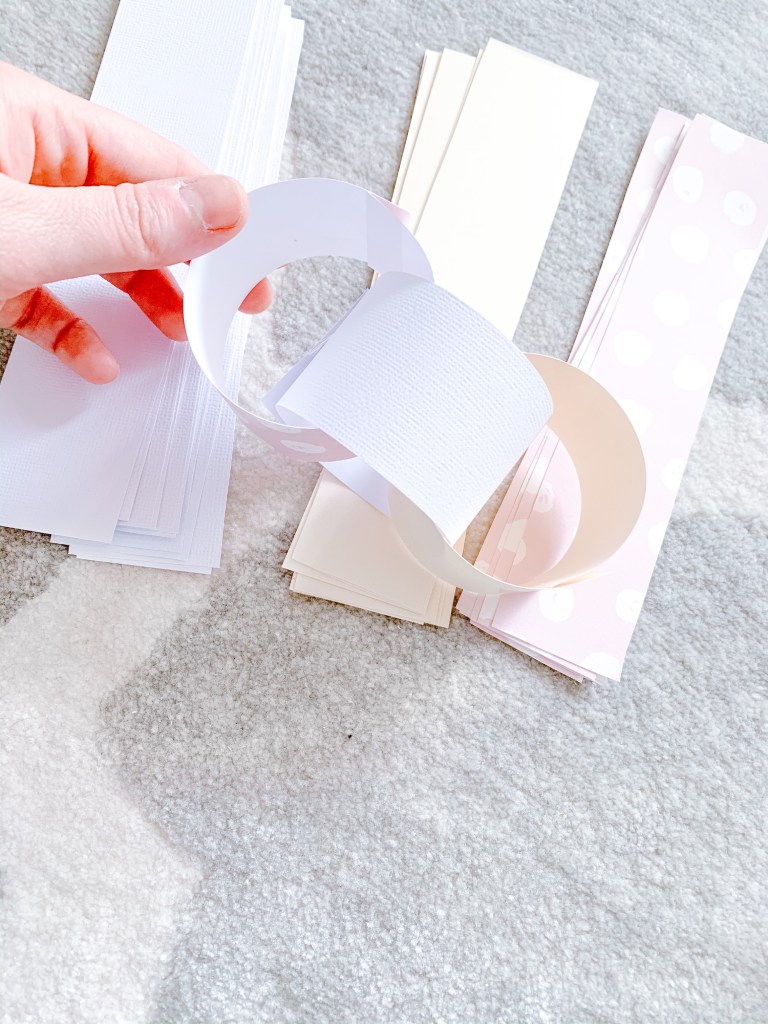
Roll the strips into rings, linking them together and securing each ring with a piece of tape.
Did you make these as a kid, too? Turns out they can totally work in your adult home if you use pastel colours and lace ribbons!
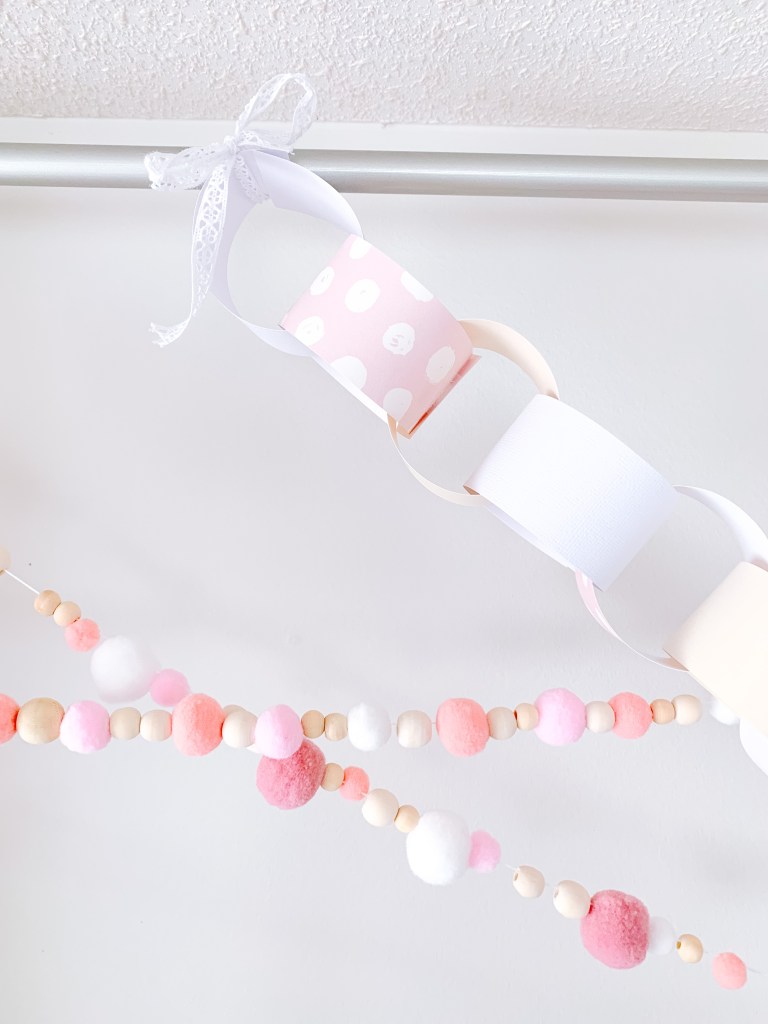
Tie a bow for hanging onto the outer links, and that one’s done too!
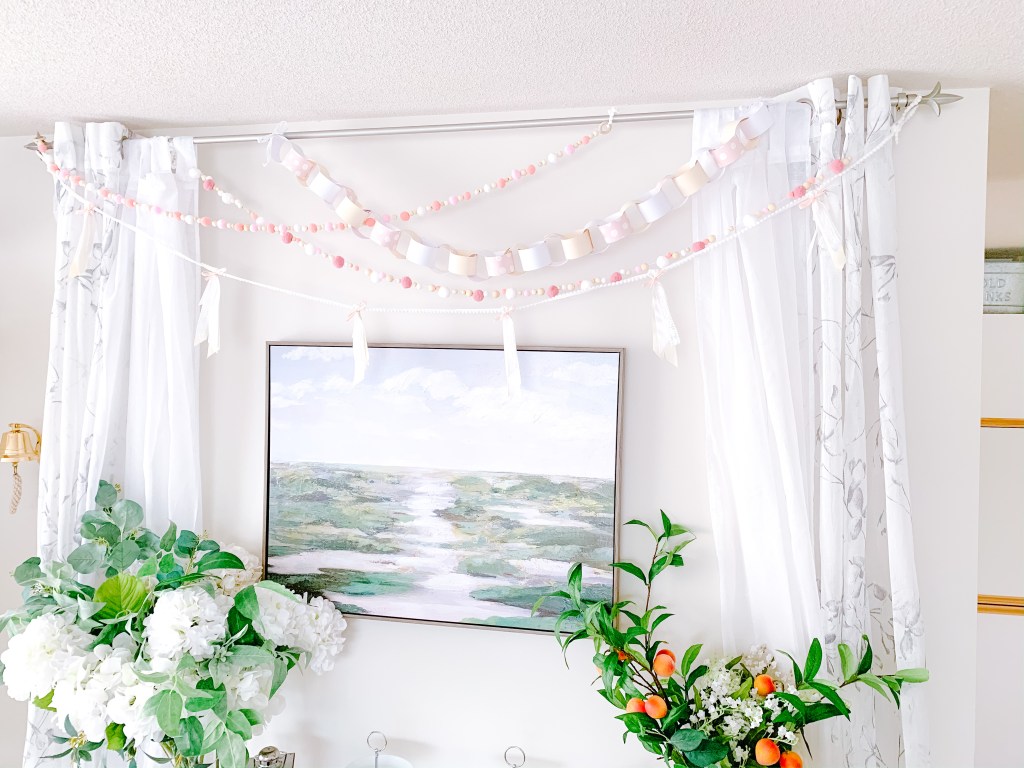
Da da da daaaa! Some cheap, easy, spring-y decor in minutes!

Which one is your favourite? I can’t decide!
These would also work great for bridal or baby showers!
Thanks for checking out the tutorial today, friends! I hope you were inspired to try making your own boho banners using stuff thrifted from around your house. I’d love to see your creations, reach out to me if you’d like to share!
Until next time loves,
xo,
Jamie
Visit me on Instagram:
And Facebook:


One thought on “DIY SPRING BOHO GARLANDS”