Hello, and welcome back to the blog!
I am delighted to share an extra-special feature with you! Today we are collaborating with the fabulous Florals for Less, to bring you a fun and easy floral arranging tutorial. These flowers are seriously gorgeous, and look so realistic! Your guests will think you just fresh picked this bouquet from your garden!
Florals for Less is an Ottawa based artificial flower company, that aims to provide brides with an affordable solution to the typically expensive ‘real-look’ florals. Not only do they carry a wide range of products like flowers, greenery, garlands, and wedding decor on their website, they also specialize in custom wedding bouquets and boutonnières for the busy bride that could use a hand planning her special day! Truly a one-stop floral shop for your wedding or special event.

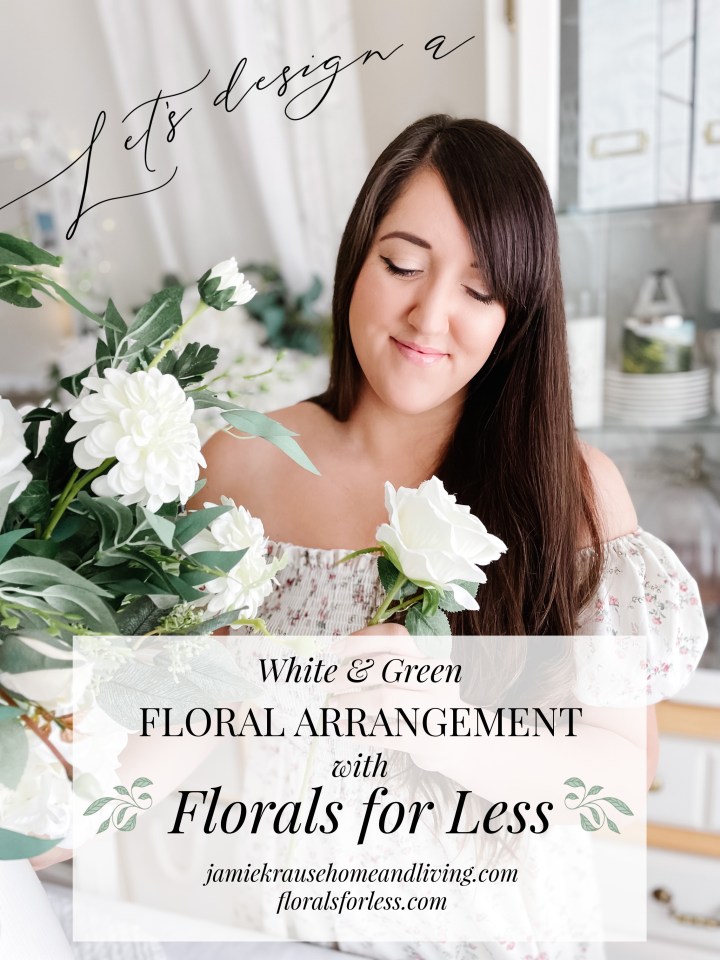
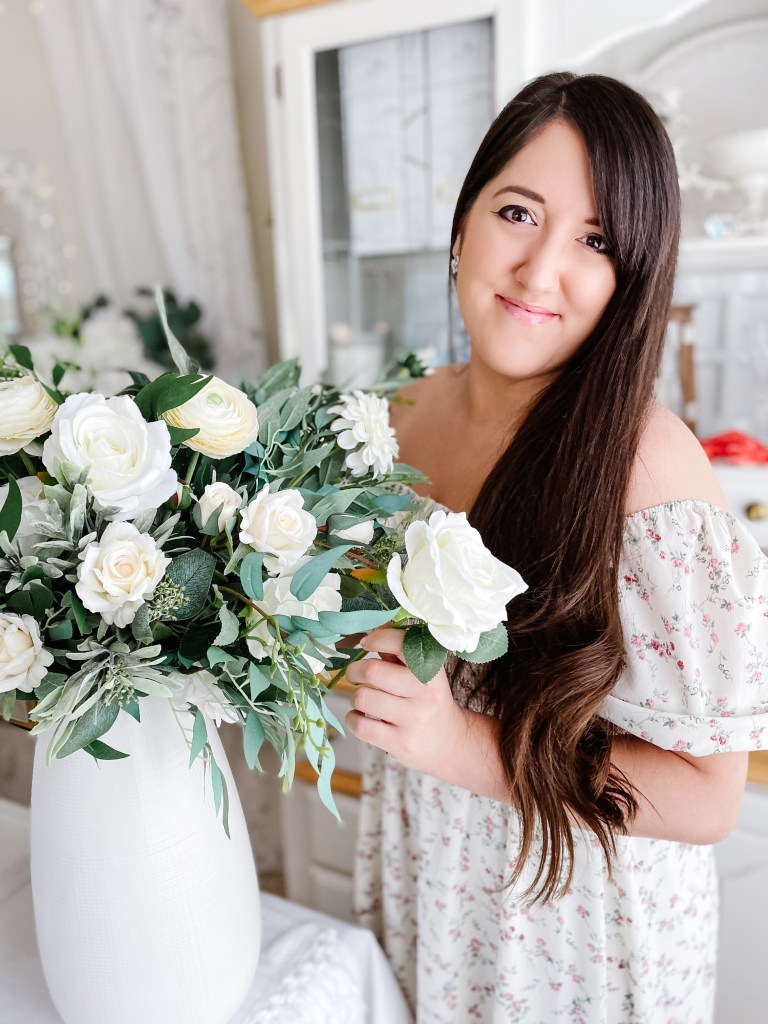
And although your first thought might automatically go to ‘wedding’ when you think of faux florals, I’m here to tell you that artificial flowers are a fab everyday addition to your home decor displays and vignettes! Just look at that smiley gal, with her giant bouquet. LOL, yes, that’s me!

I cannot wait to show you how you can turn your fave flowers and greenery into a lush, wild, and realistic centrepiece, that will have you smiling every time you enter the room. I designed this arrangement in mind for your dining room table, kitchen island, dresser top, or living room side table, but it will look great anywhere you like to enjoy flowers. This tutorial will walk you through the arranging process step by step, and even includes quick links to the exact products I used to create this design!
Are you ready? Me, too! Let’s get designing!
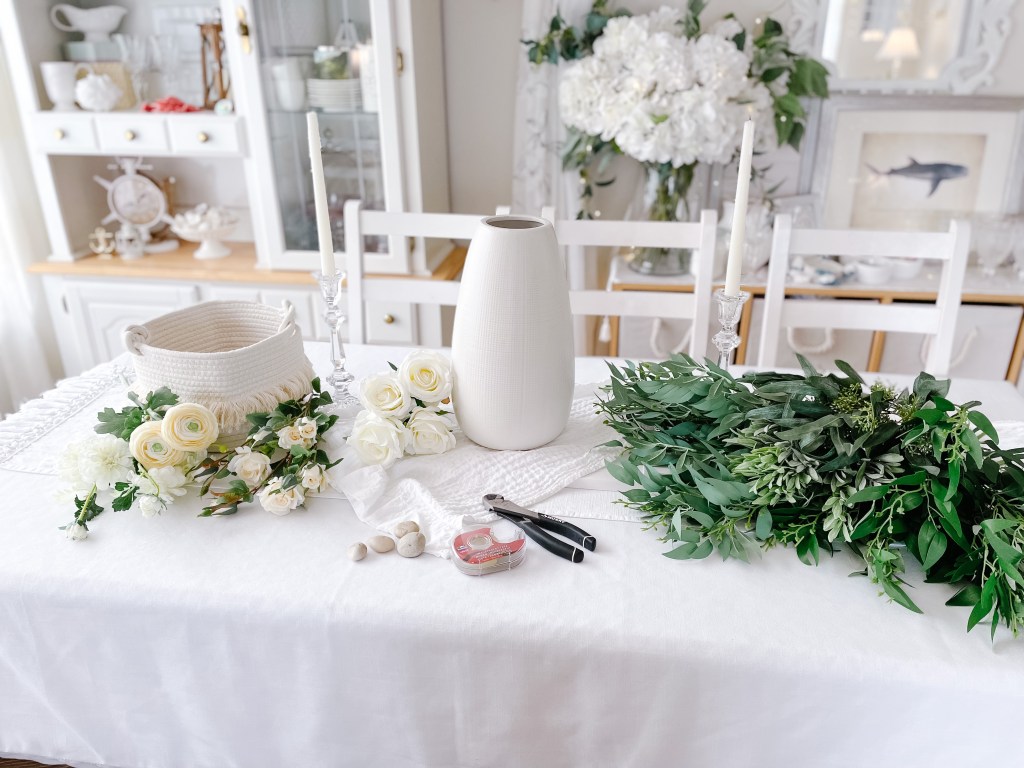
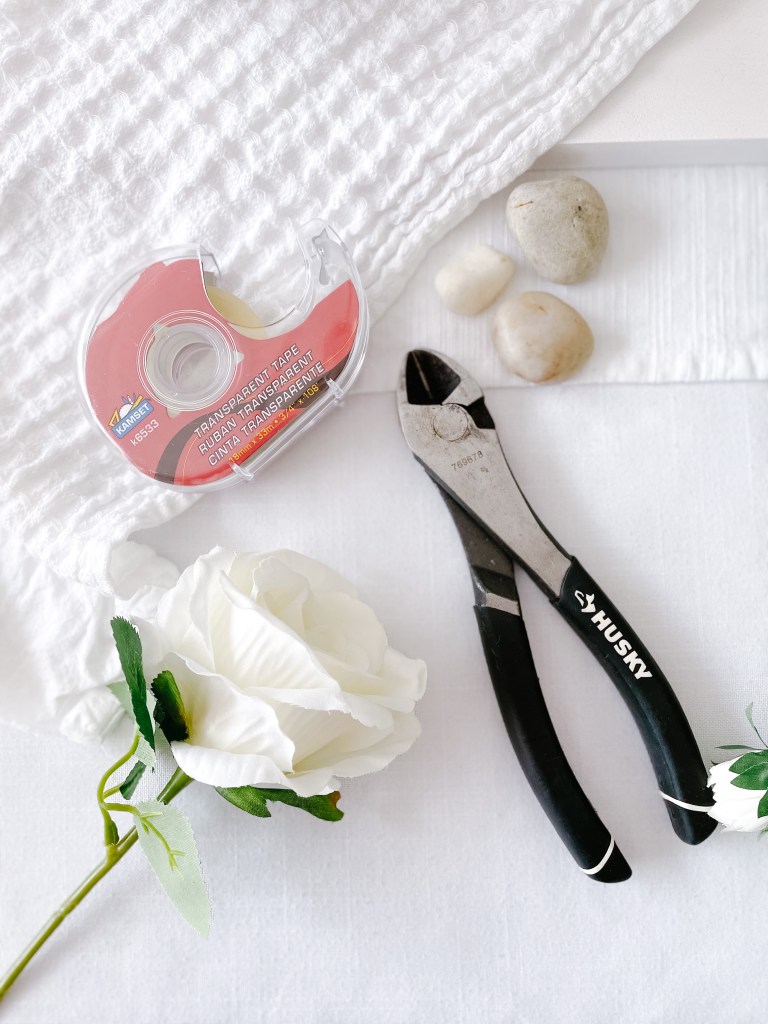
YOU WILL NEED:
- a large vase of your preference (I used a 13″ tall, ceramic, narrow-mouthed vase for this design)
- scotch tape
- wire cutters
- river stones, marbles, or, in a pinch, dried beans or lentils
- assorted Florals for Less greenery stems (3-4 large, 2-3 medium, 6-8 small)
- assorted Florals for Less floral stems (4-6 large, 2-3 medium, 4-6 small)
Have our supplies at the ready? Wonderful!
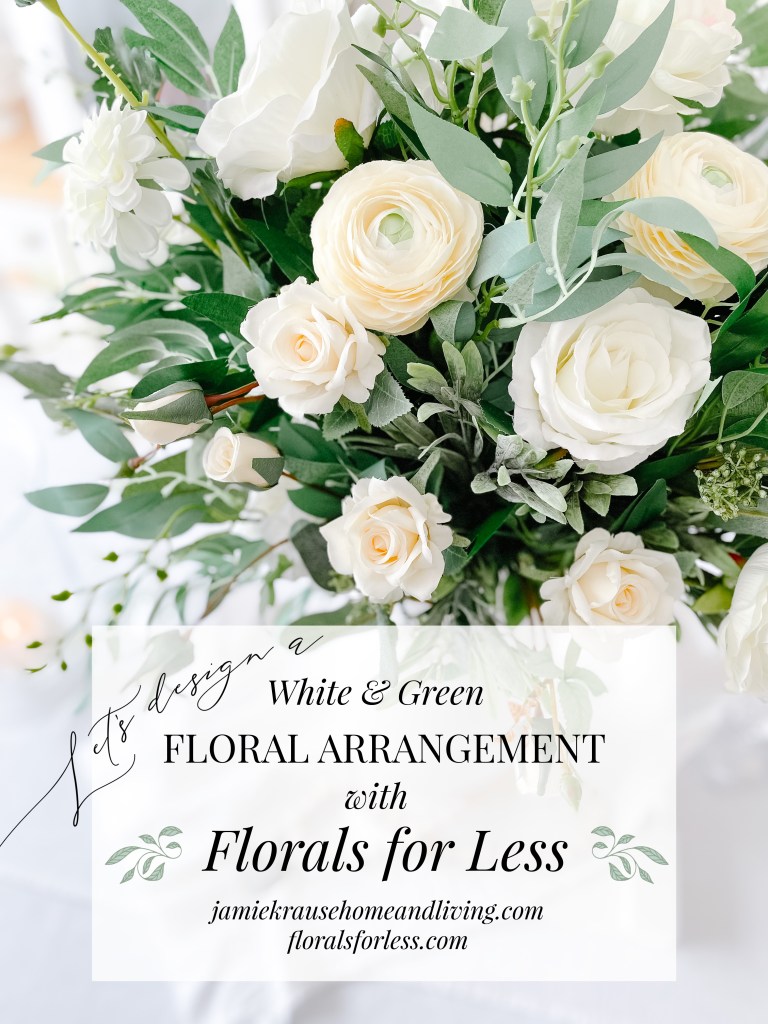
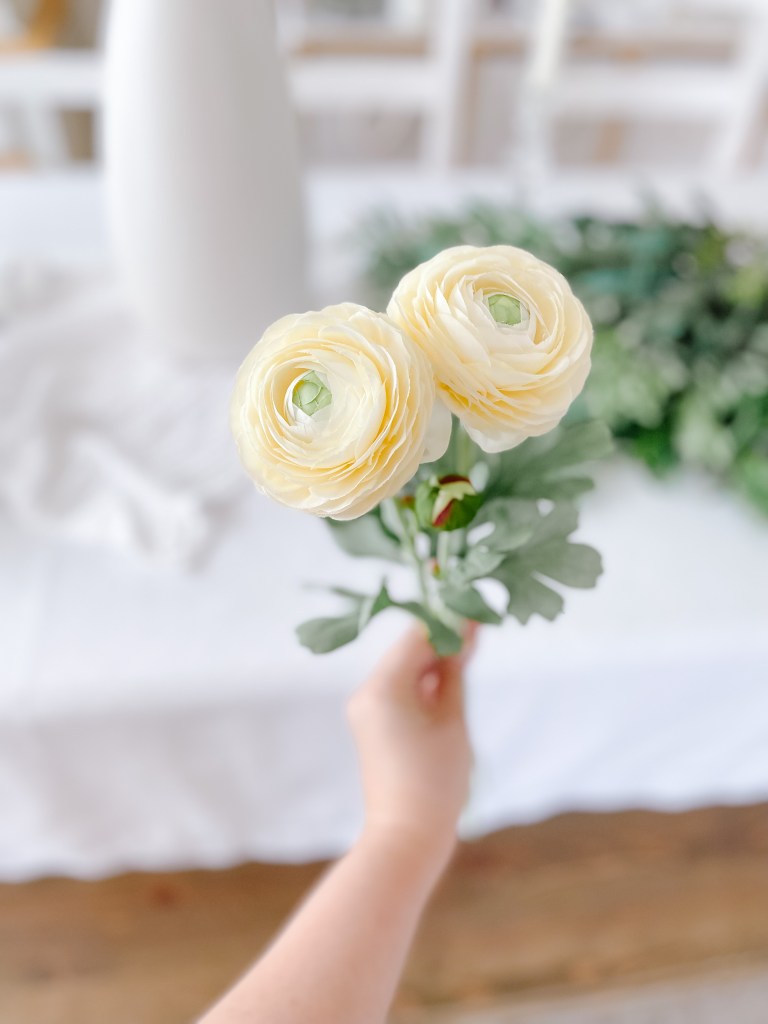
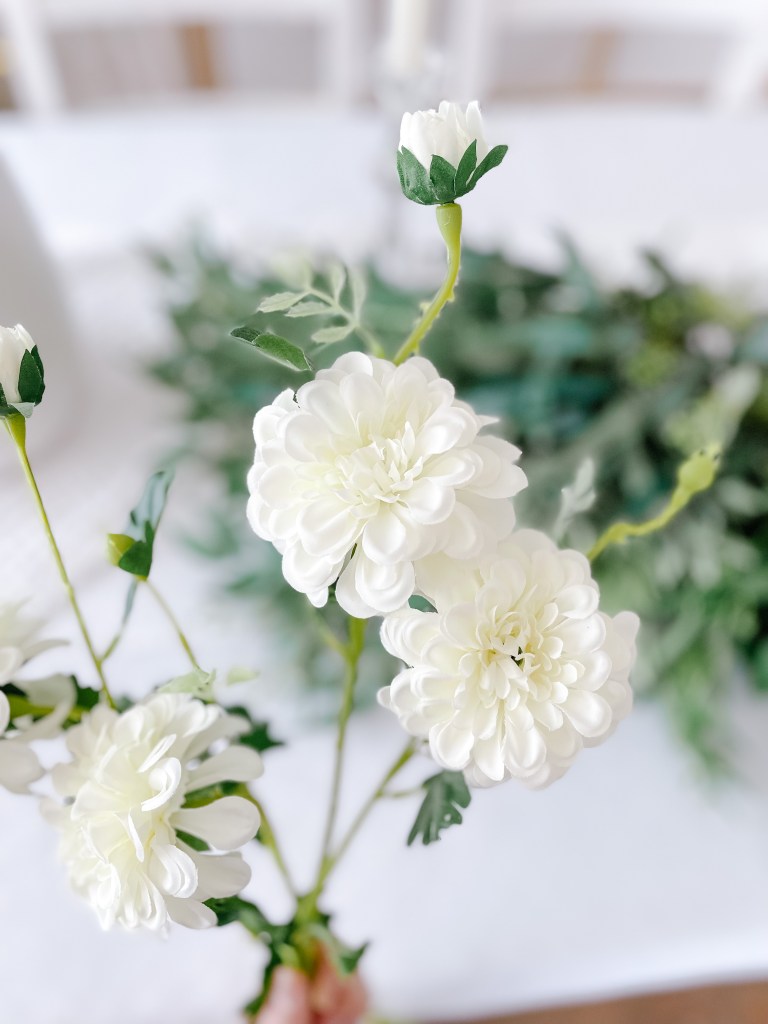
Shown below (in order) we have 4 of the ‘Our BEST Rose‘s, in White, as well as the ‘Artificial Oversized Ranunculus‘, in White (comes in a set of 2), the ‘Petite Garden Rose‘, in Milk White (comes in a set of 2), shown here is two sets of 2 (4 clusters total), and last but certainly not least, the ‘Authentic Dahlia Spray‘, in White. Also used in this project are two of the ‘Artificial Cabbage Rose Spray‘s, in each White and Pink Heart.


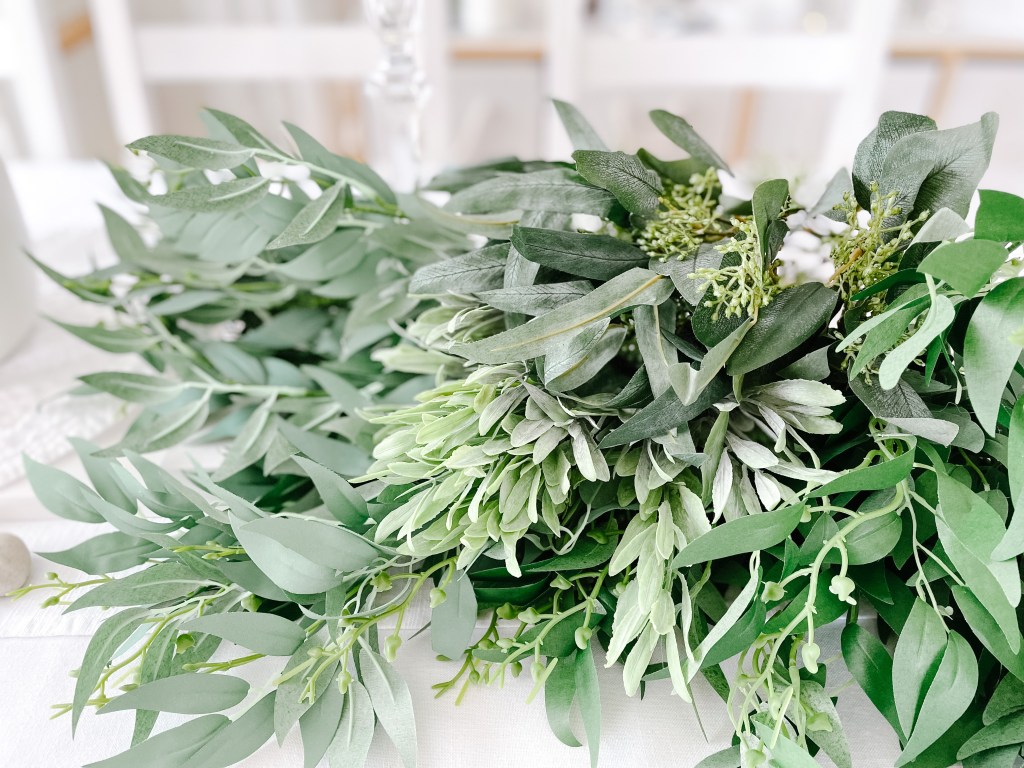
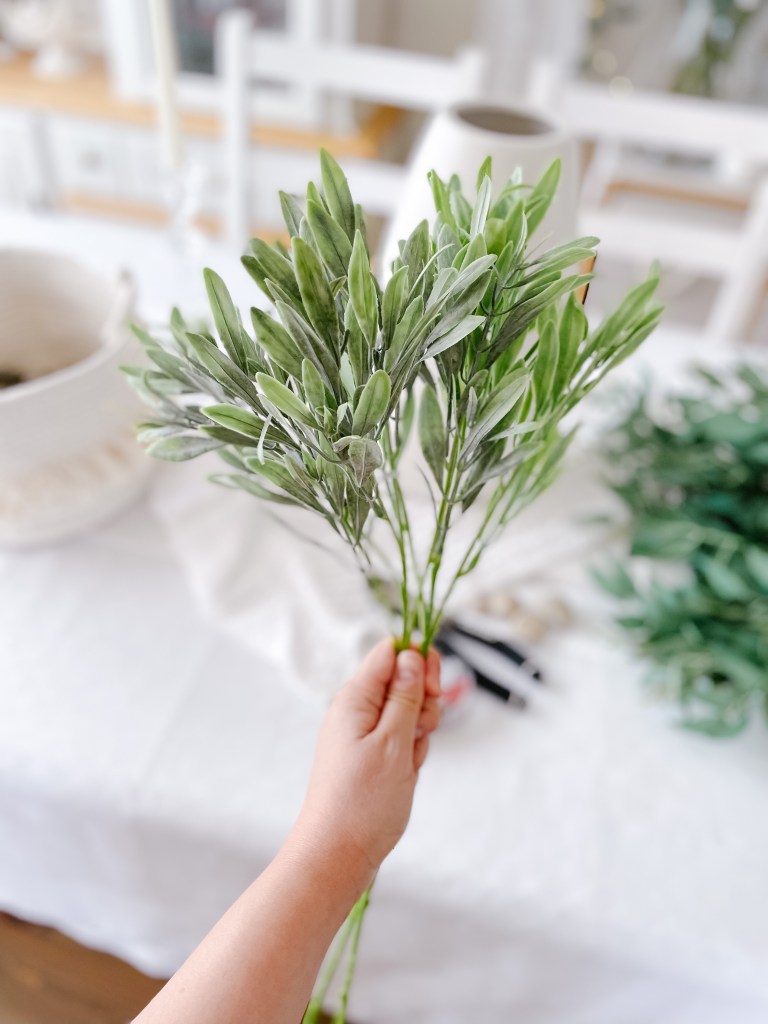
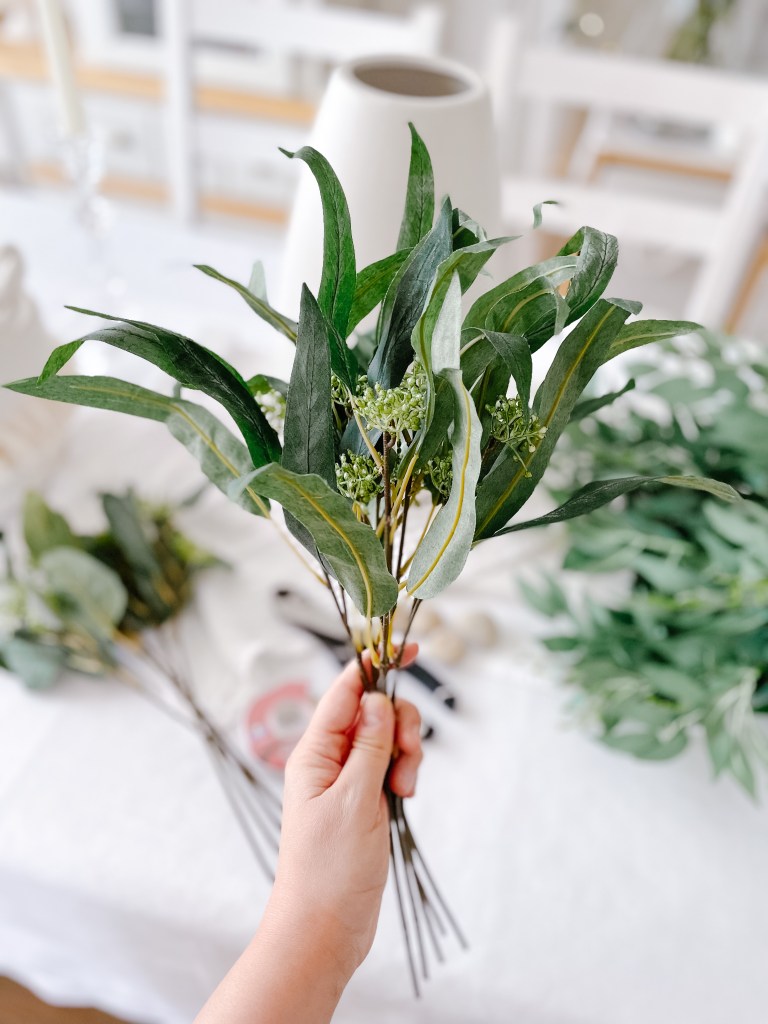
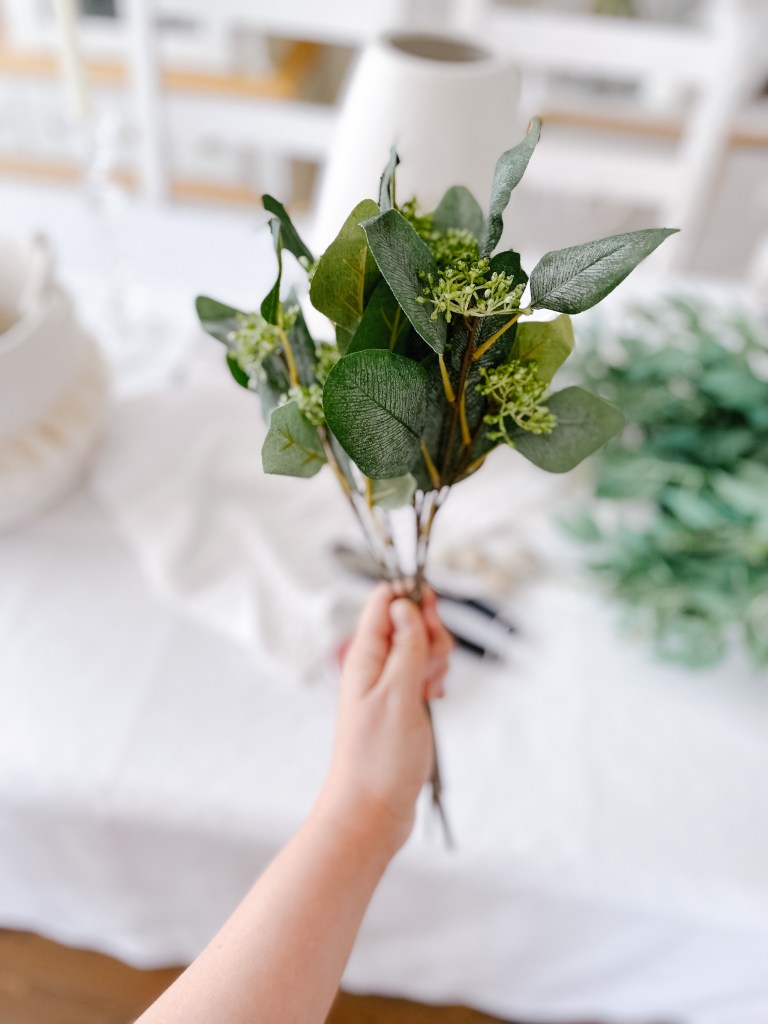
For our greenery, we have the ‘Artificial Soft-Look Foliage’ in both Green and Grey-Green, the ‘Olive Leaf Greenery‘ (my fave!) in both Light Green and Dark Green, and the ‘Seeded Eucalyptus Bunch‘ in both Green shapes (comes with 4 stems).
Creating a lovely, and most importantly, realistic floral arrangement isn’t quite as simple as stuffing the stems into a vase and calling it a day – to achieve that truly realistic look, you’ll need to do some cutting and stripping, just as you would with fresh flowers!

HOW TO ARRANGE:

First things first, I’d like to introduce you to the scotch tape trick. Though you probably won’t need this if you have a narrow mouth vase, this is the handiest trick to have up your sleeve if the mouth of your vase is too large for your florals. Simply make a grid pattern out of scotch tape across the opening of your vase, to keep your flowers in place as you arrange!


Be sure to put your rocks or marbles in the vase before you do the tape trick. Lay your vase on its side, and carefully put the weighted pieces inside. Once they are all in, gently and slowly move your vase back to its upright position. A rogue rock or marble can easily put a crack in your lovely vase!

Now that your vase is ready, let’s do the prep work on our florals and greenery. If you ordered a larger greenery bush with several stems on it, clip a few off right now. You’ll find out why later! 4-6 will do.
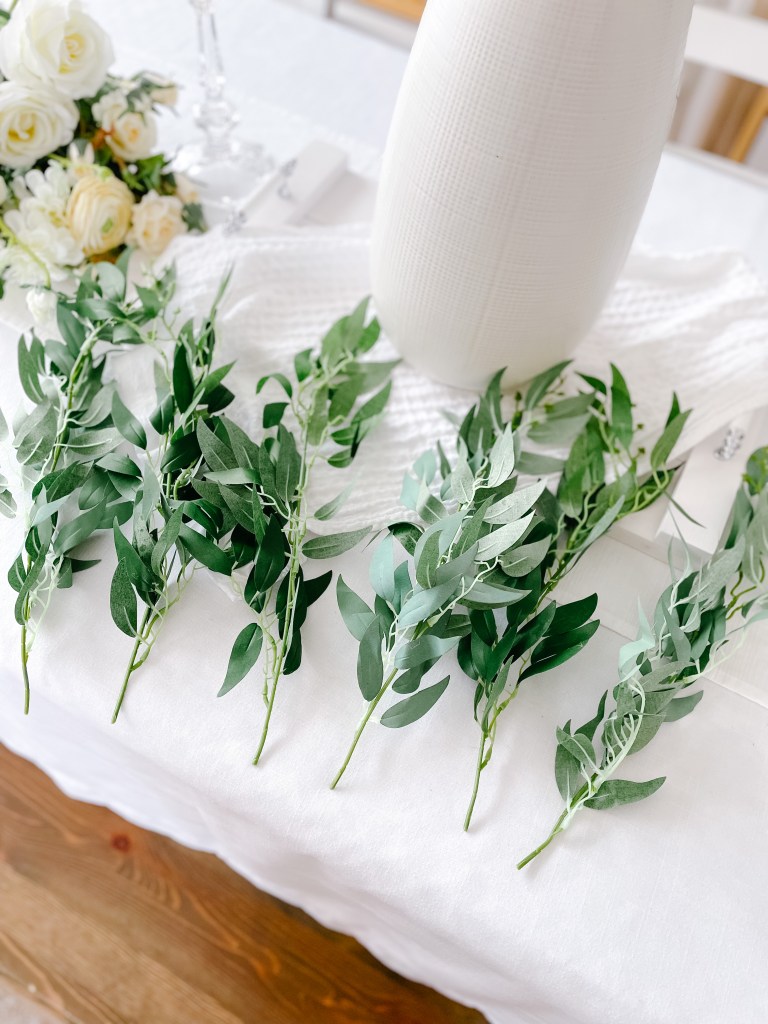
Additionally, strip some of the leaves off of your flowers now, particularly the lower leaves. The leaves look nice on the stem when you’re using a single bud vase, but in a large bouquet you’re going to want to lose a little of that unnecessary bulk that no one will see, anyway.

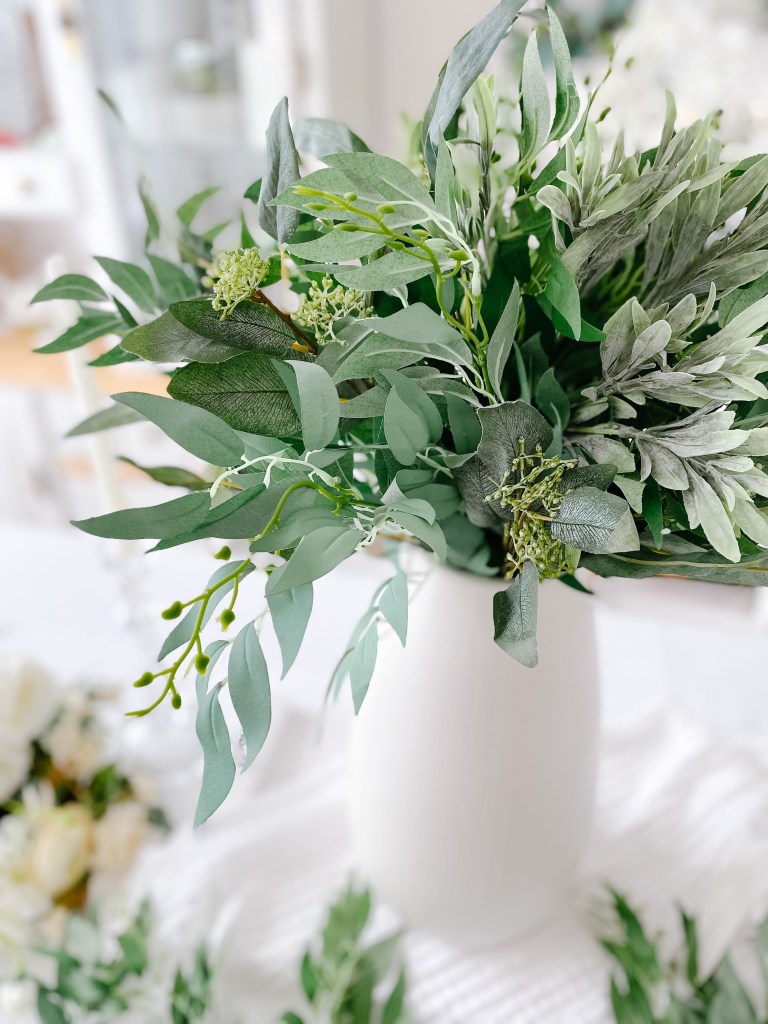
You’re ready to start arranging! First, pop in your larger greenery bushes.

Add your single stems in after, making sure to balance them all the way around the vase. You want the back to look just as nice as the front.
Time for flowers!

Clip your flowers to your desired length (clip a little bit at a time, to prevent going too short), and start adding them into the greenery.
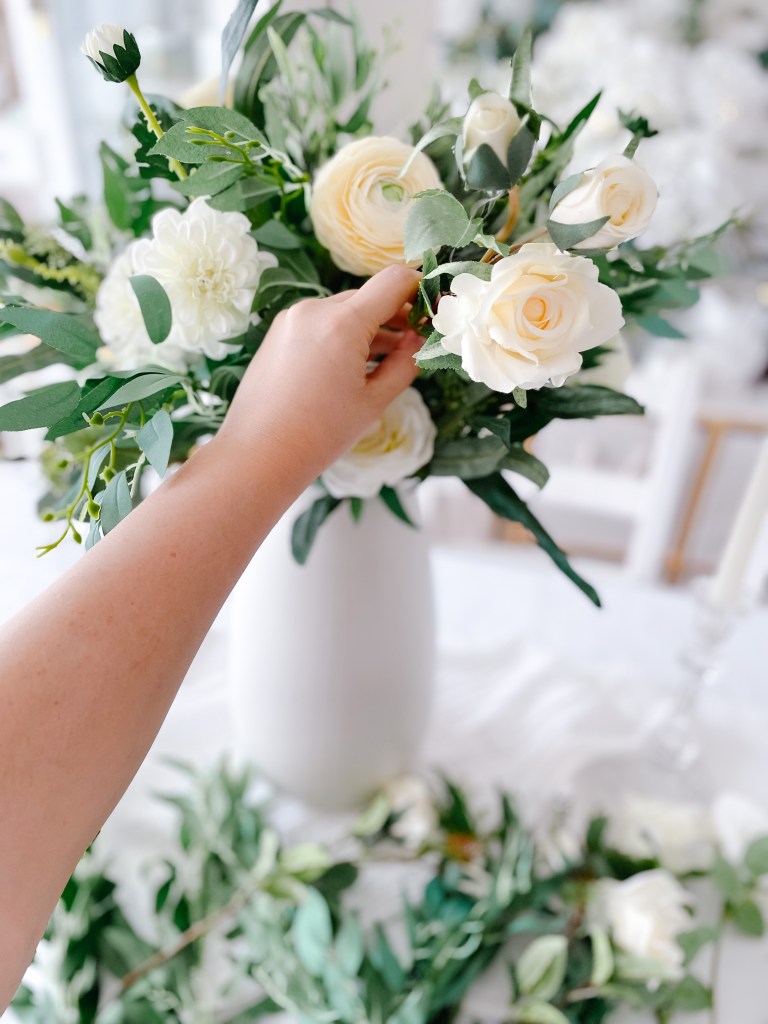
Once your flowers are all in the vase, take a step back and snap a couple photos. You’ll be able to see better in a picture if there are any blank spots, or similar flowers too close together!
Hi, it’s me again! Are we having fun yet?

Alright, finishing touch time! Remember when I asked you to clip off some of the greenery from your bushes? Add it in now, but leave them longer than the other flowers and greenery! This will lend to that ‘wild’ look.

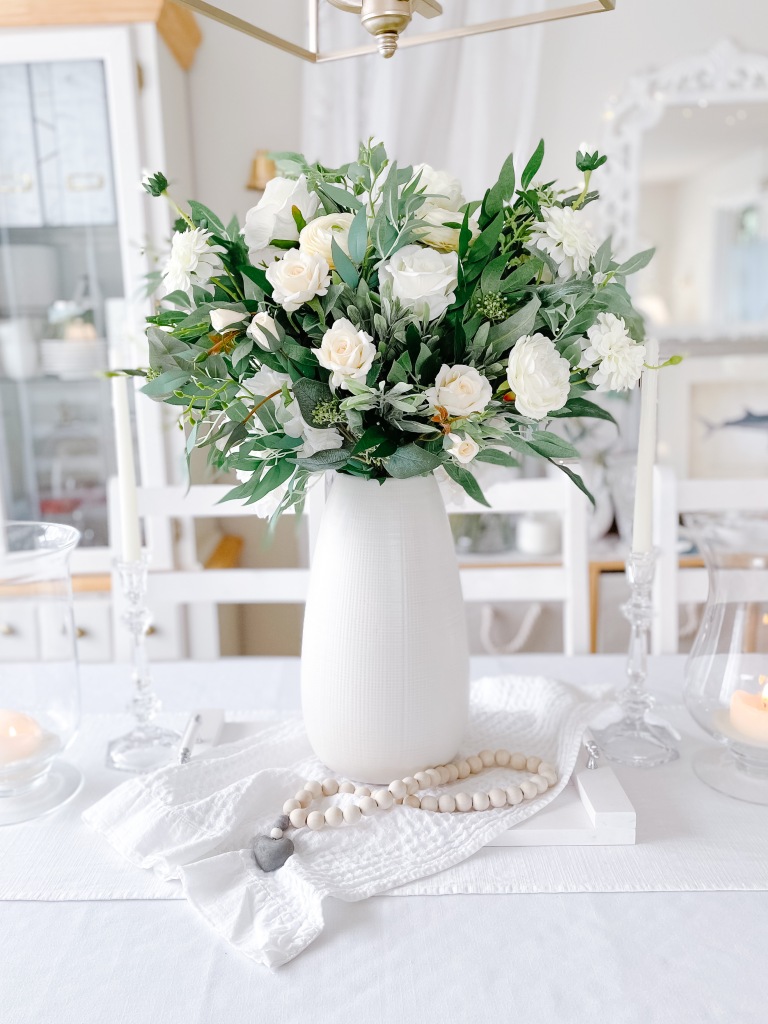
And there you have it – a gorgeous, and realistic faux centrepiece. The white and green are a truly timeless look, that will go with virtually any decor style.
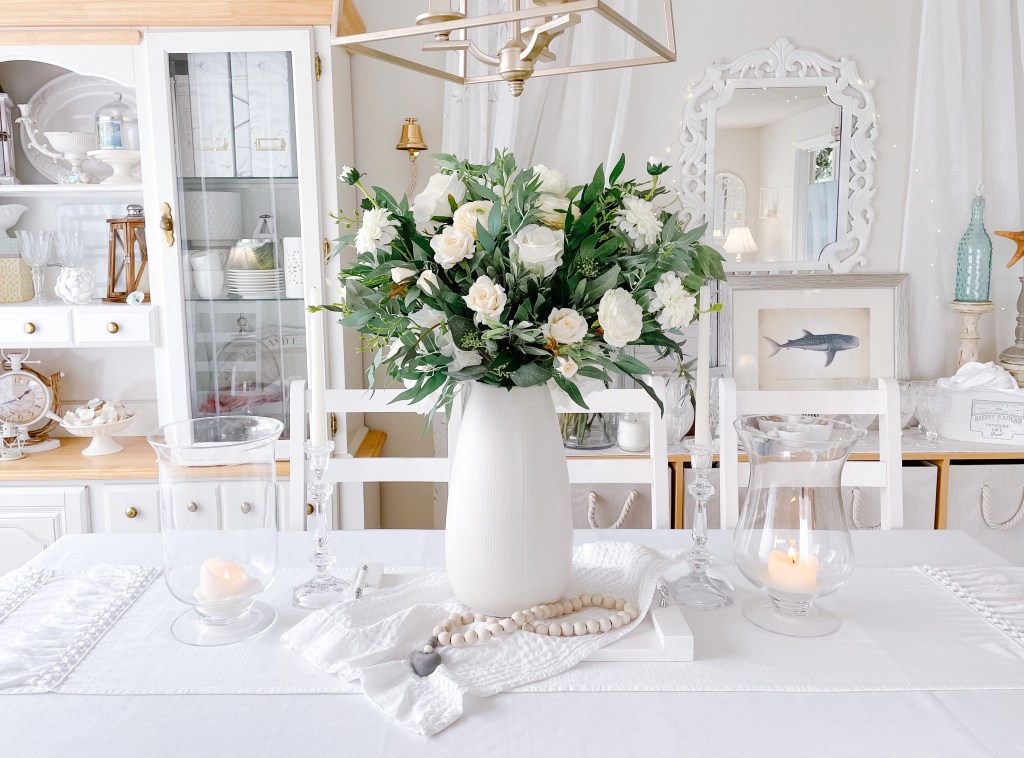
I flanked my arrangement with 2 hurricane vases to accentuate the height of this beauty. A small arrangement has it’s place, but boy, do I ever love a large, show-stopping centrepiece!

A wooden tray, draped tea towel, pair of taper candlestick holders, and heart prayer beads complete this on trend look.
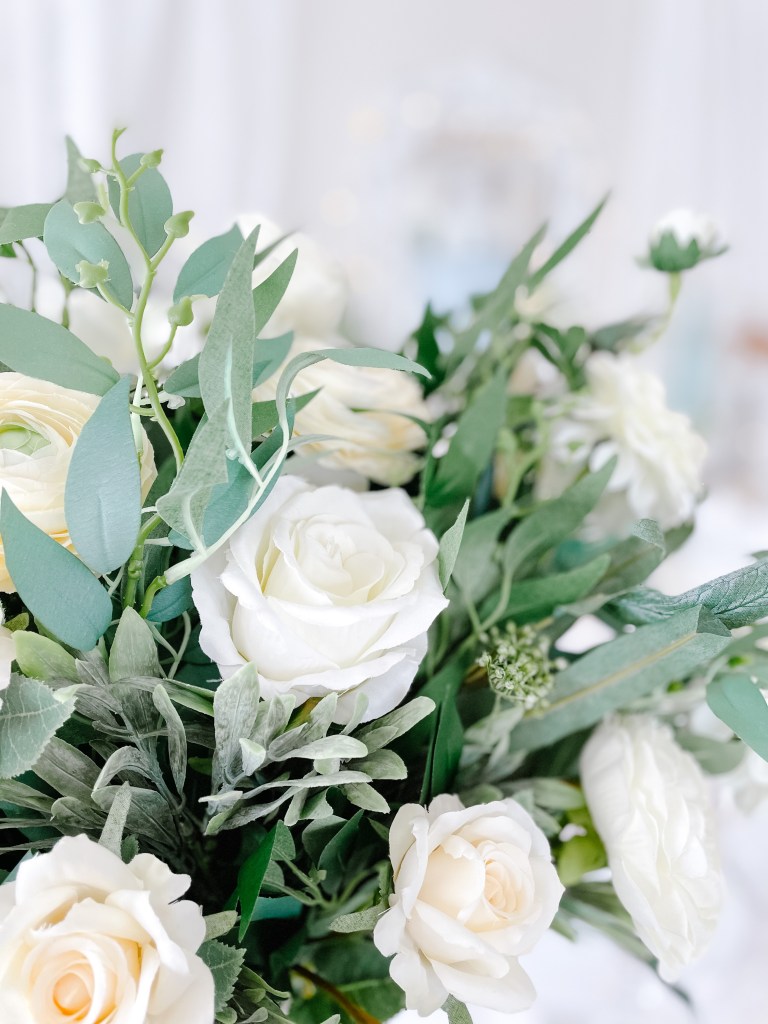
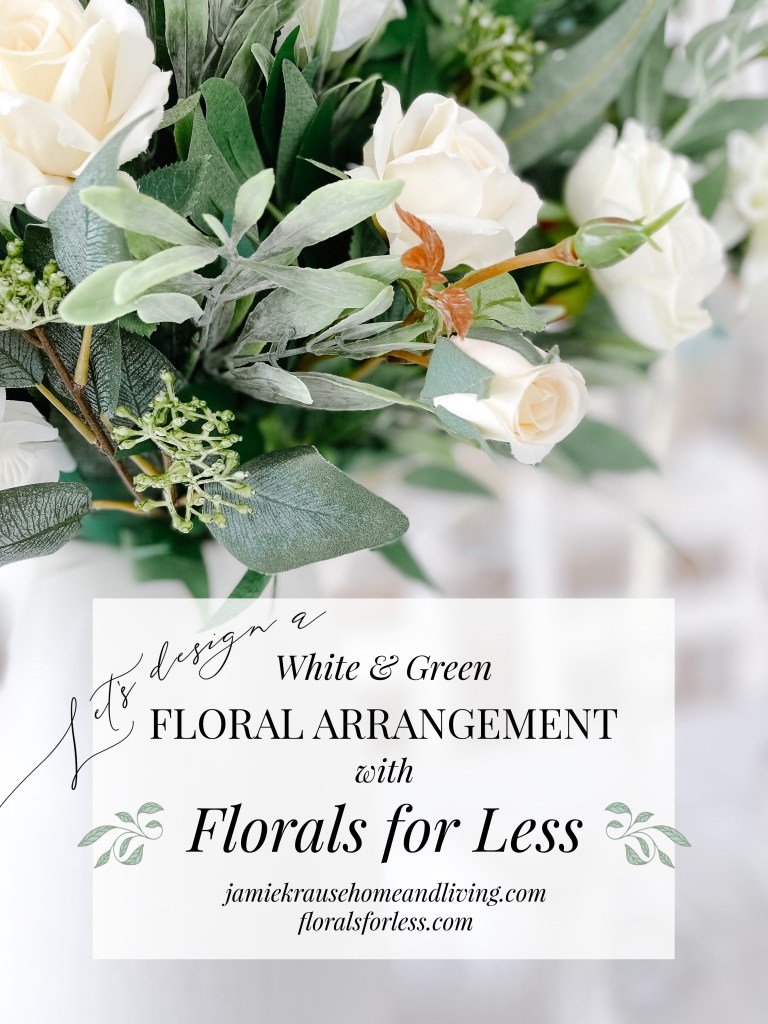
I’m hard pressed to choose a favourite flower, but ‘Our BEST Rose‘ really is the BEST quality faux rose I’ve ever had the pleasure of styling! You should see it in ‘Blush’…!

I mean, I’m already married, but I’d do it all over again using this arrangement as my bouquet!


The best part of styling with artificial flowers? You can enjoy your arrangement for as long as you like, and simply restyle them around your home for years to come! This arrangement could become a wreath, a lush garland, flower crowns, a bouquet, anything!

Thank you so much for visiting with Florals for Less and I, we loved having you along for this tutorial! Visit us both on Instagram today (come find me here, my floral shop Shop Jamie Krause here, and Florals for Less here), and have fun shopping for your new floral goodies. If you give this design a try, please let us know – we’d love to see your creation! Feel free to mix it up and use whatever colour scheme you like best, the sky is the limit with Florals for Less!
And as a thank you for following along, please enjoy the discount code JAMIE20 over at floralsforless.com, to score 20% off your orders of $75 or more on florals, greenery, and garlands!
xo, Jamie
Don’t forget to drop me your email address, so you can stay up to date on my latest blog posts!